How to Install Trex Decking: Step-by-Step Guide
Written By: Justin Puetz | April 2, 2025 | 8 Minute Read

Trex decking has become a popular choice for homeowners due to its durability, aesthetic appeal, and low maintenance requirements. If you’re planning a decking project and considering Trex, you’re already on the right track. This guide will walk you through everything from preparing your space to the final installation, ensuring you have a sturdy and beautiful deck for years to come.
Here’s what we’ll cover in this guide:
- What You Need to Know Before Installing Trex Decking
- How to Install Trex Decking (Simple 7-Step Process)
- Maintenance Tips to Keep Your Deck Looking Great
What You Need to Know Before Installing Trex Decking
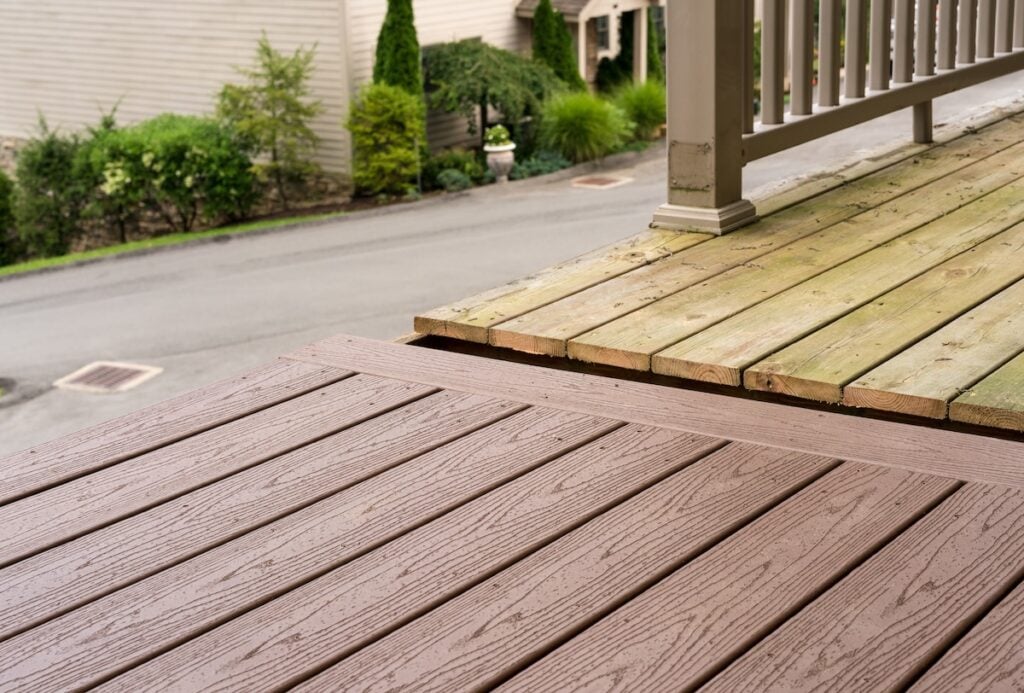
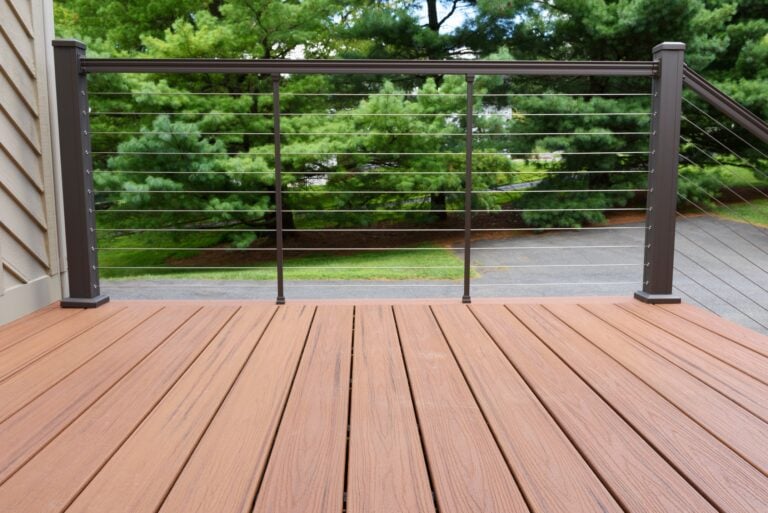
Trex decking is a composite material made from recycled wood fibers and plastic, offering an eco-friendly and sustainable alternative to traditional wood decks. By repurposing waste materials, Trex helps reduce environmental impact while providing a durable and reliable solution for outdoor spaces. Unlike wood, Trex boards are engineered to resist fading, staining, and splintering, ensuring they maintain their beauty and integrity over time. This means you get the look of a classic wooden deck without the hassle of constant maintenance, making it a smart and sustainable choice for homeowners looking to enhance their outdoor living spaces.
Why Choose Trex Decking?
- Durability: Trex is resistant to weather, pests, and rot.
- Low Maintenance: No need for sanding or staining. Simply clean with soap and water.
- Aesthetic Options: Available in a variety of colors and finishes to suit your style.
7 Steps to Install Trex Decking

Installing Trex decking properly ensures a durable, low-maintenance outdoor space that lasts for years. Following a simple step-by-step guide saves time, avoids mistakes, and helps you achieve professional results.
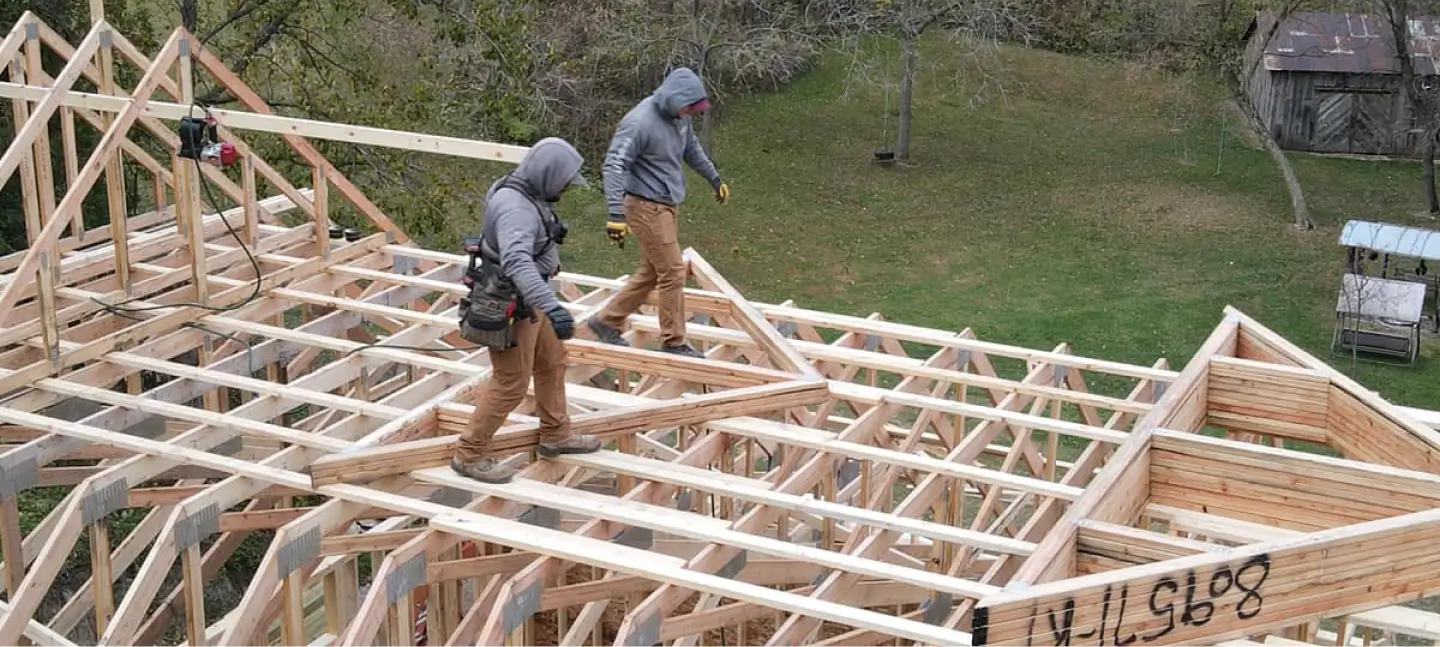
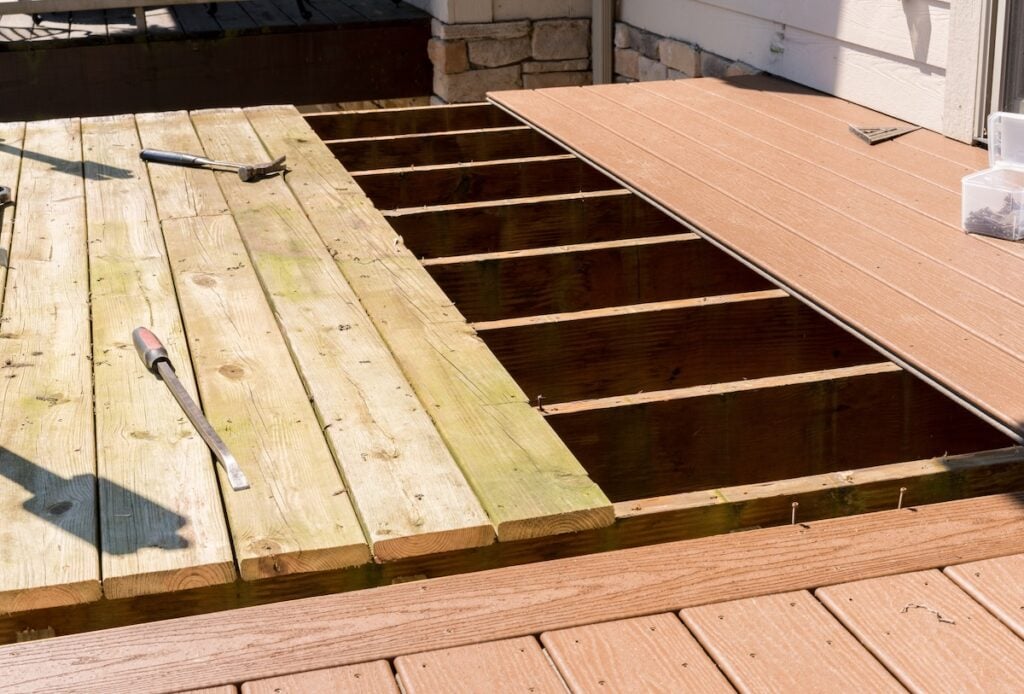
1. Prepare the Substructure
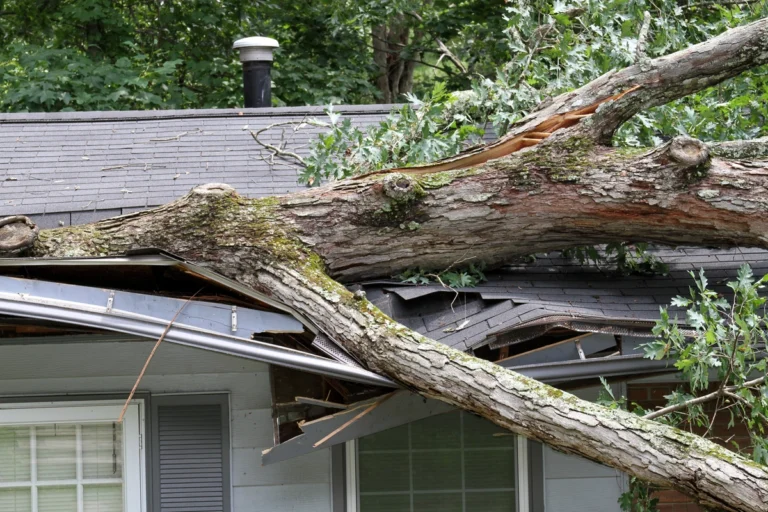
The foundation of any great deck starts with a solid substructure. Before you begin installing your composite decking, inspect your deck’s frame to ensure it is in top condition. Look for any signs of rot, decay, or structural weakness. If you find damaged or weak areas, replace those components immediately. Always use treated lumber for framing, as it resists decay and extends the lifespan of your deck. Additionally, consider applying joist tape to the tops of the joists. Joist tape acts as a moisture barrier, protecting the wood from water damage and preventing long-term issues like warping or rot. A well-prepared substructure ensures your deck not only looks great but remains sturdy and durable for years to come.
2. Plan Your Layout
A beautifully finished deck begins with thoughtful planning. Start by considering the design and direction of your Trex boards. Do you want them to run parallel to the joists for a classic appearance, or are you looking for a unique touch like a diagonal layout? Take the time to visualize the overall aesthetic you want to achieve. Once you’ve decided on the layout, temporarily place the boards across the frame to test alignment and spacing. Use a chalk line to mark clear guidelines along the joists—this will help you position the boards accurately during installation. Proper planning not only saves time but also ensures your finished product has a professional, polished look.
3. Measure and Cut the Boards
Accurate measurements are critical when it comes to composite decking. Begin by carefully measuring the dimensions of your deck space. Mark each Trex board where cuts are needed, and double-check your measurements to avoid costly mistakes. Use a circular saw with a blade designed specifically for composite materials to achieve clean, precise cuts. This will help ensure the edges of your boards are smooth and fit perfectly into place. Don’t forget to wear protective gear, including gloves, safety goggles, and a dust mask, to protect yourself from debris and dust during the cutting process. Taking your time with this step will help you avoid gaps or misaligned boards later on.
4. Secure the First Board
The first board you install sets the tone for the entire deck, so it’s important to get it right. Start at the outer edge of the deck, as this ensures a polished starting point. Place the first Trex board in position, making sure it has the proper overhang—usually about 1 inch—for a professional and balanced appearance. Secure the board using screws or hidden fasteners. Hidden fasteners are a popular choice because they create a seamless finish without visible hardware, enhancing the overall look of the deck. Take your time to confirm that the board is level, properly aligned, and securely fastened before moving on to the next step. A solid start will make the rest of the installation smoother.
5. Install the Remaining Boards
With the first board in place, continue installing the rest of the Trex boards one by one. It’s important to maintain consistency as you work across the deck. Leave a 1/4-inch gap between each board to allow for adequate ventilation and expansion, which helps prevent issues like buckling or warping over time. Use hidden fasteners for a clean, hardware-free surface. As you progress, check the alignment of the boards frequently, and make adjustments as needed to ensure the deck remains straight and uniform. Taking the time to check your work as you go will save you from having to fix mistakes later. This step-by-step process will result in a deck that not only looks stunning but is also built to last.
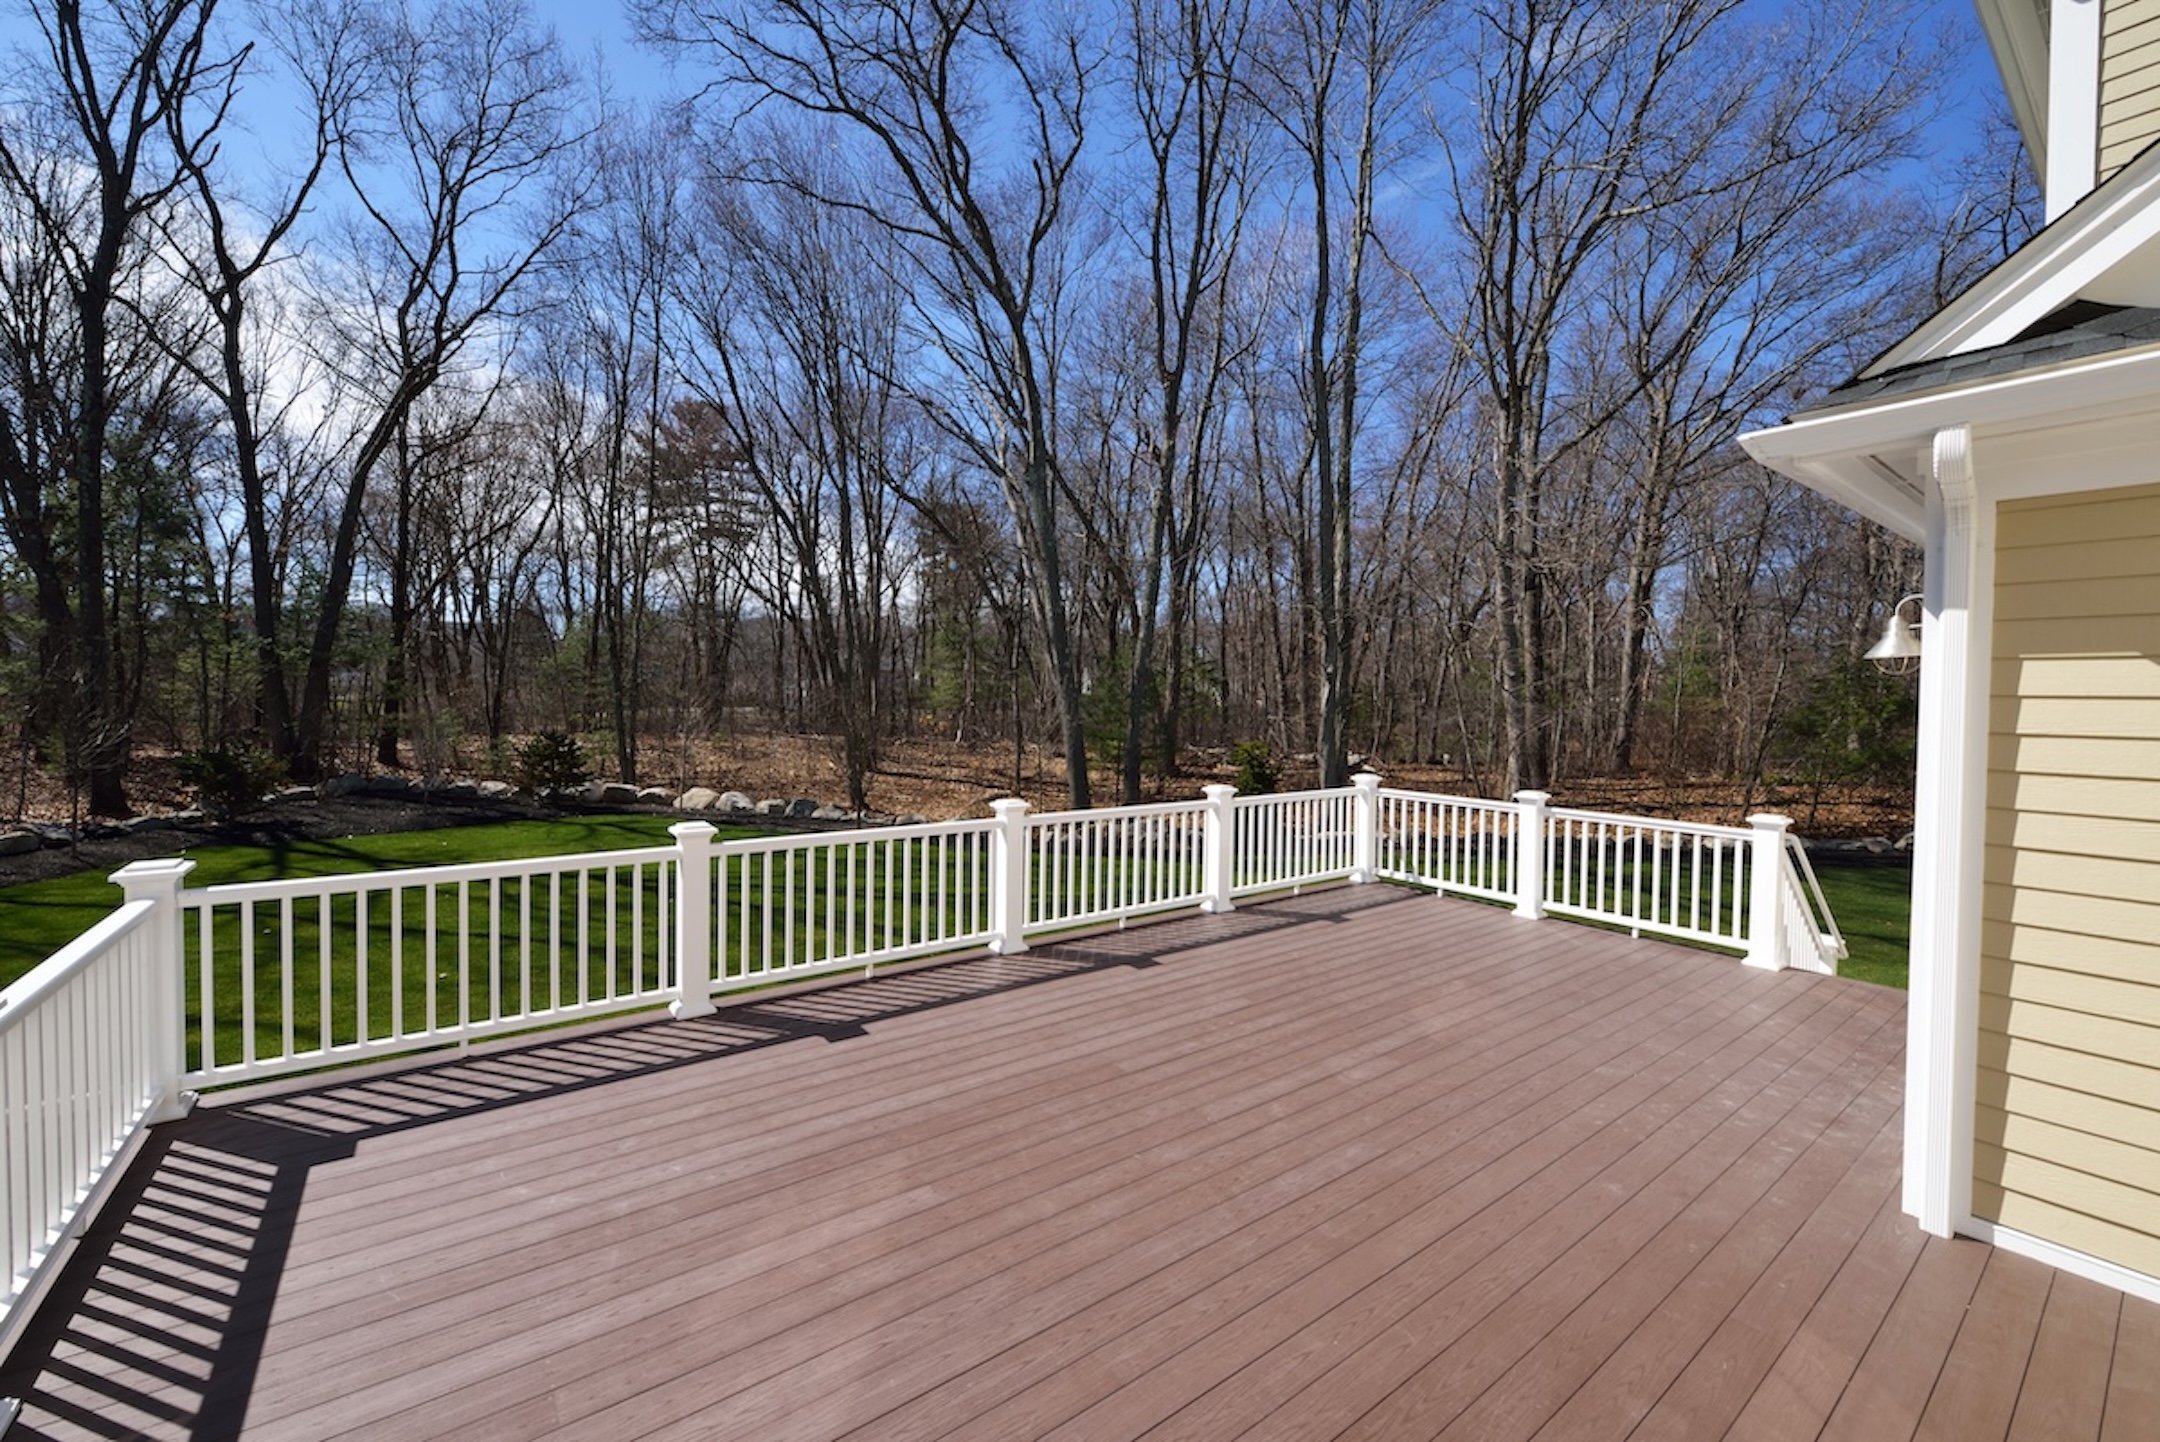
6. Trim and Finish the Edges
The finishing touches can make a significant difference in the appearance of your deck. Once all the boards have been installed, it’s time to focus on the edges. Attach fascia boards around the perimeter of the deck to cover the substructure and give it a polished, professional look. Opt for fascia boards and trim that match the color and material of your Trex decking for a cohesive design. Secure the fascia boards properly and use corner trims or mitered corners for a refined finish. This step is essential for elevating the aesthetic of your deck and ensuring it looks complete from every angle. A well-trimmed deck not only enhances visual appeal but also protects the edges from wear and tear.
7. Inspect and Finalize
Before declaring your deck complete, take the time to perform a thorough inspection. Walk across the surface to ensure it feels secure and stable. Look for any gaps, misaligned boards, or loose fasteners that need attention. Tighten screws, adjust spacing, and make any necessary fixes to perfect the deck. Once you’re satisfied with the results, clean up your work area by removing debris, tools, and excess materials. Your Trex deck is now ready to enjoy! Whether it’s a quiet evening outdoors or a lively gathering with friends and family, your newly installed deck will add style, functionality, and value to your outdoor space for years to come.
Maintenance Tips to Keep Your Deck Looking Great
One of the biggest advantages of Trex is how easy it is to maintain. Here are a few tips to keep your deck looking as new as the day you installed it:
Regular Cleaning
To keep your deck looking its best, make a habit of cleaning it every few months. Use soapy water and a soft-bristle brush to gently remove dirt, debris, and grime. Rinse thoroughly with water to avoid residue buildup. Regular cleaning not only maintains the appearance but also extends the life of your deck.
Prevent Stains
Protect your deck from unsightly stains by using mats or trays under items like planters, grills, and furniture. These can catch spills, dirt, or moisture before they reach the surface. Clean up any spills immediately to prevent stains from setting, especially from substances like grease, wine, or oil.
Avoid Harsh Cleaners
When cleaning your composite deck, avoid harsh chemicals or abrasive cleaners that can damage the surface. Instead, choose pH-balanced solutions specifically designed for composite materials. These cleaners effectively remove dirt and grime without stripping the deck of its finish or causing discoloration.
Trex Decking Installation
At Puetz Construction, we understand that installing Trex decking is more than just a project—it’s about creating a space where you can relax, entertain, and make lasting memories. With our expertise, premium materials, and customer-first approach, you can trust us to bring your vision to life with precision and care.
Whether you’re dreaming of a small backyard retreat or a sprawling deck to host family and friends, our team is here to make it happen. Ready to get started? Contact Puetz Construction today for a free consultation and let’s build the deck you’ve always wanted!
Fresh From our Blog