Roof Inspection Checklist: 5 Steps to Catch Roof Damage Early
Puetz Construction | 7 Minute Read
Your roof is your home’s first line of defense against the elements, so keeping it in top-notch condition is critical. Regular roof inspections help identify potential problems before they evolve into costly repairs. Whether you’re a homeowner managing maintenance or a contractor checking for damage, having a roof inspection checklist with exactly what to look for is essential.
This guide explores everything you need to cover during a roof inspection. Here’s what we’ll discuss:
- Signs of Damage on the Exterior
- Roof Inspection as a Process (Step-by-step checklist)
- Safety Tips for Roof Inspections
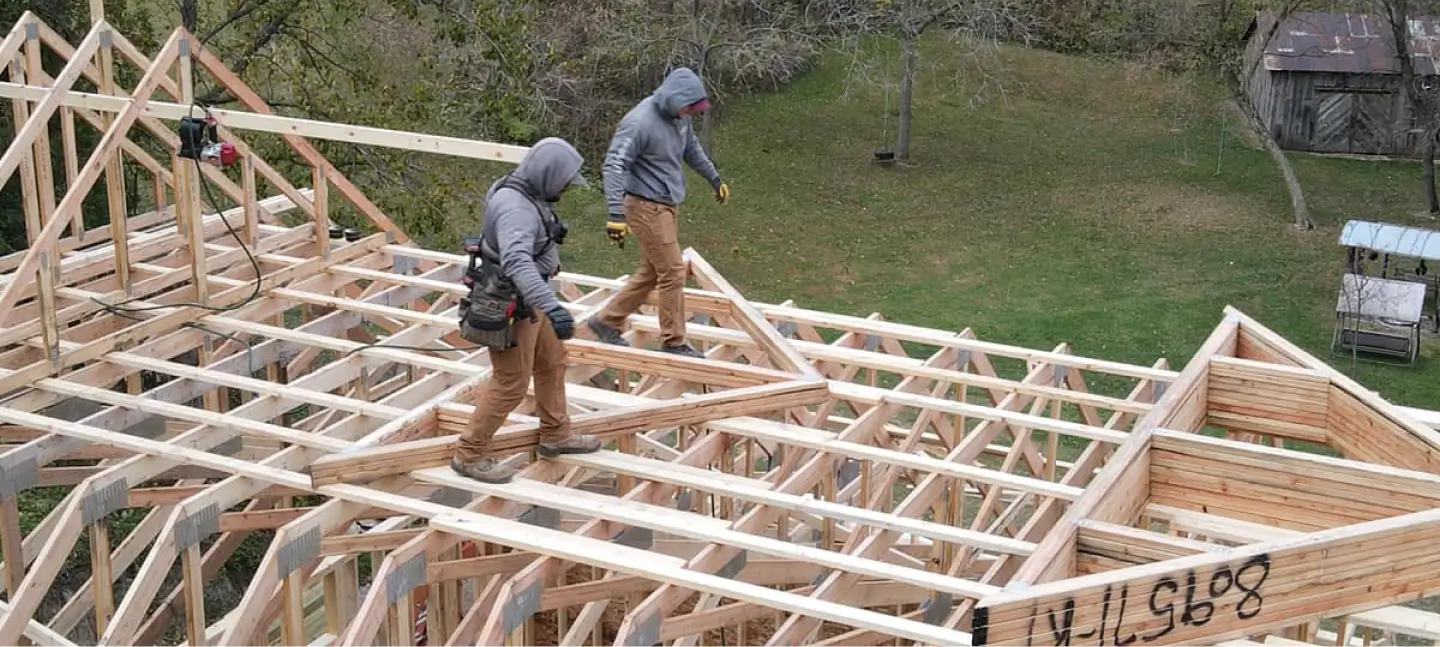
Who’s Inspecting Your Roof? Meet Sam from Puetz Construction
Thinking about a roof inspection and wondering who you’ll be meeting? In this video, meet Sam from Puetz Construction, your friendly and local, exterior professional. Sam walks you through what to expect during a typical roof inspection, helping homeowners just like you make informed decisions about their home.
6 Signs of Damage on the Exterior
Your roof takes the brunt of every storm, so catching damage early can save you thousands in repairs. While climbing onto the roof can offer a closer look, you can often spot damage safely from the ground or with the help of binoculars. A quick visual inspection can reveal warning signs of wear and tear, water damage, or structural problems. With the experience we have gathered over the years as an honest roofing company, we recommend you pay close attention to the following areas:
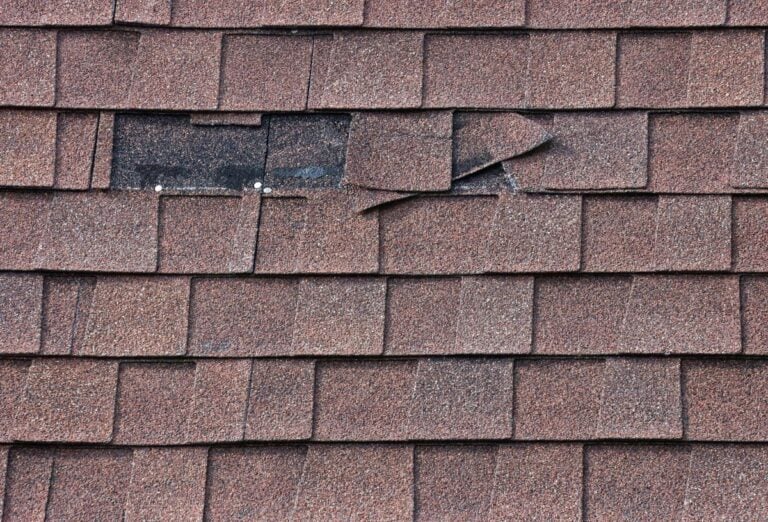
1. Missing, Cracked, or Curling Shingles
Shingles that are cracked, curling, or missing altogether leave your roof vulnerable to leaks. Look for uneven patches, shiny areas where granules have worn off, or spots where shingles appear lifted by wind or moisture. These are early indicators that repairs or replacement may be needed.
2. Damaged Flashing Around Roof Penetrations
Flashing protects the seams around chimneys, vents, skylights, and valleys—anywhere the roof has a joint or opening. If you see rust, cracks, gaps, or loose metal, water could be seeping underneath. Discoloration or dark streaks around these areas are also signs of leaks forming beneath the surface.
3. Clogged or Sagging Gutters
Gutters play a key role in diverting water away from your roof and home. When they clog or sag, water can back up under the shingles and cause rot along the roof edge. After rainfall, make sure gutters drain freely and that no sections are pulling away from the fascia.
4. Moss, Algae, or Mold Growth
Dark streaks or green patches on your roof aren’t just cosmetic—they trap moisture and can shorten your roof’s lifespan. If you see growth spreading, consider having your roof professionally cleaned and evaluate whether poor drainage or shade may be contributing to the issue.
5. Sagging or Uneven Roof Lines
Any dip or wave in the roofline should be taken seriously. Sagging can indicate water damage, rotted decking, or structural weakening. Contact a professional roofer immediately to assess the cause before the problem worsens.
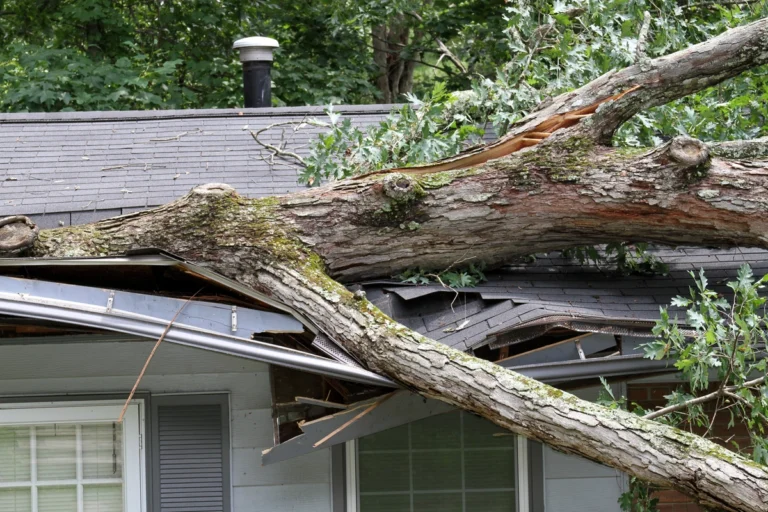
6. Storm or Impact Damage
After high winds, hail, or heavy storms, walk around your property and look for fallen branches, missing shingles, or dents in metal flashing. Even minor punctures can lead to significant water intrusion. If you suspect storm damage, schedule a professional inspection right away. Especially if you plan to file an insurance claim or need emergency roof repairs.
5 Steps to a Thorough Roof Inspection
Routine roof inspections are the best way to catch small issues before they turn into costly repairs. Whether you’re inspecting after a major storm or just doing your annual checkup, this guide walks you through every step to ensure your roof stays in top shape.
Roof Inspection Checklist Quick Summary:
- Ladder and safety gear ready
- Walk around the home exterior
- Look for damaged shingles or sagging areas
- Check flashing and roof penetrations
- Inspect attic for leaks or insulation damage
- Take photos and notes for repairs
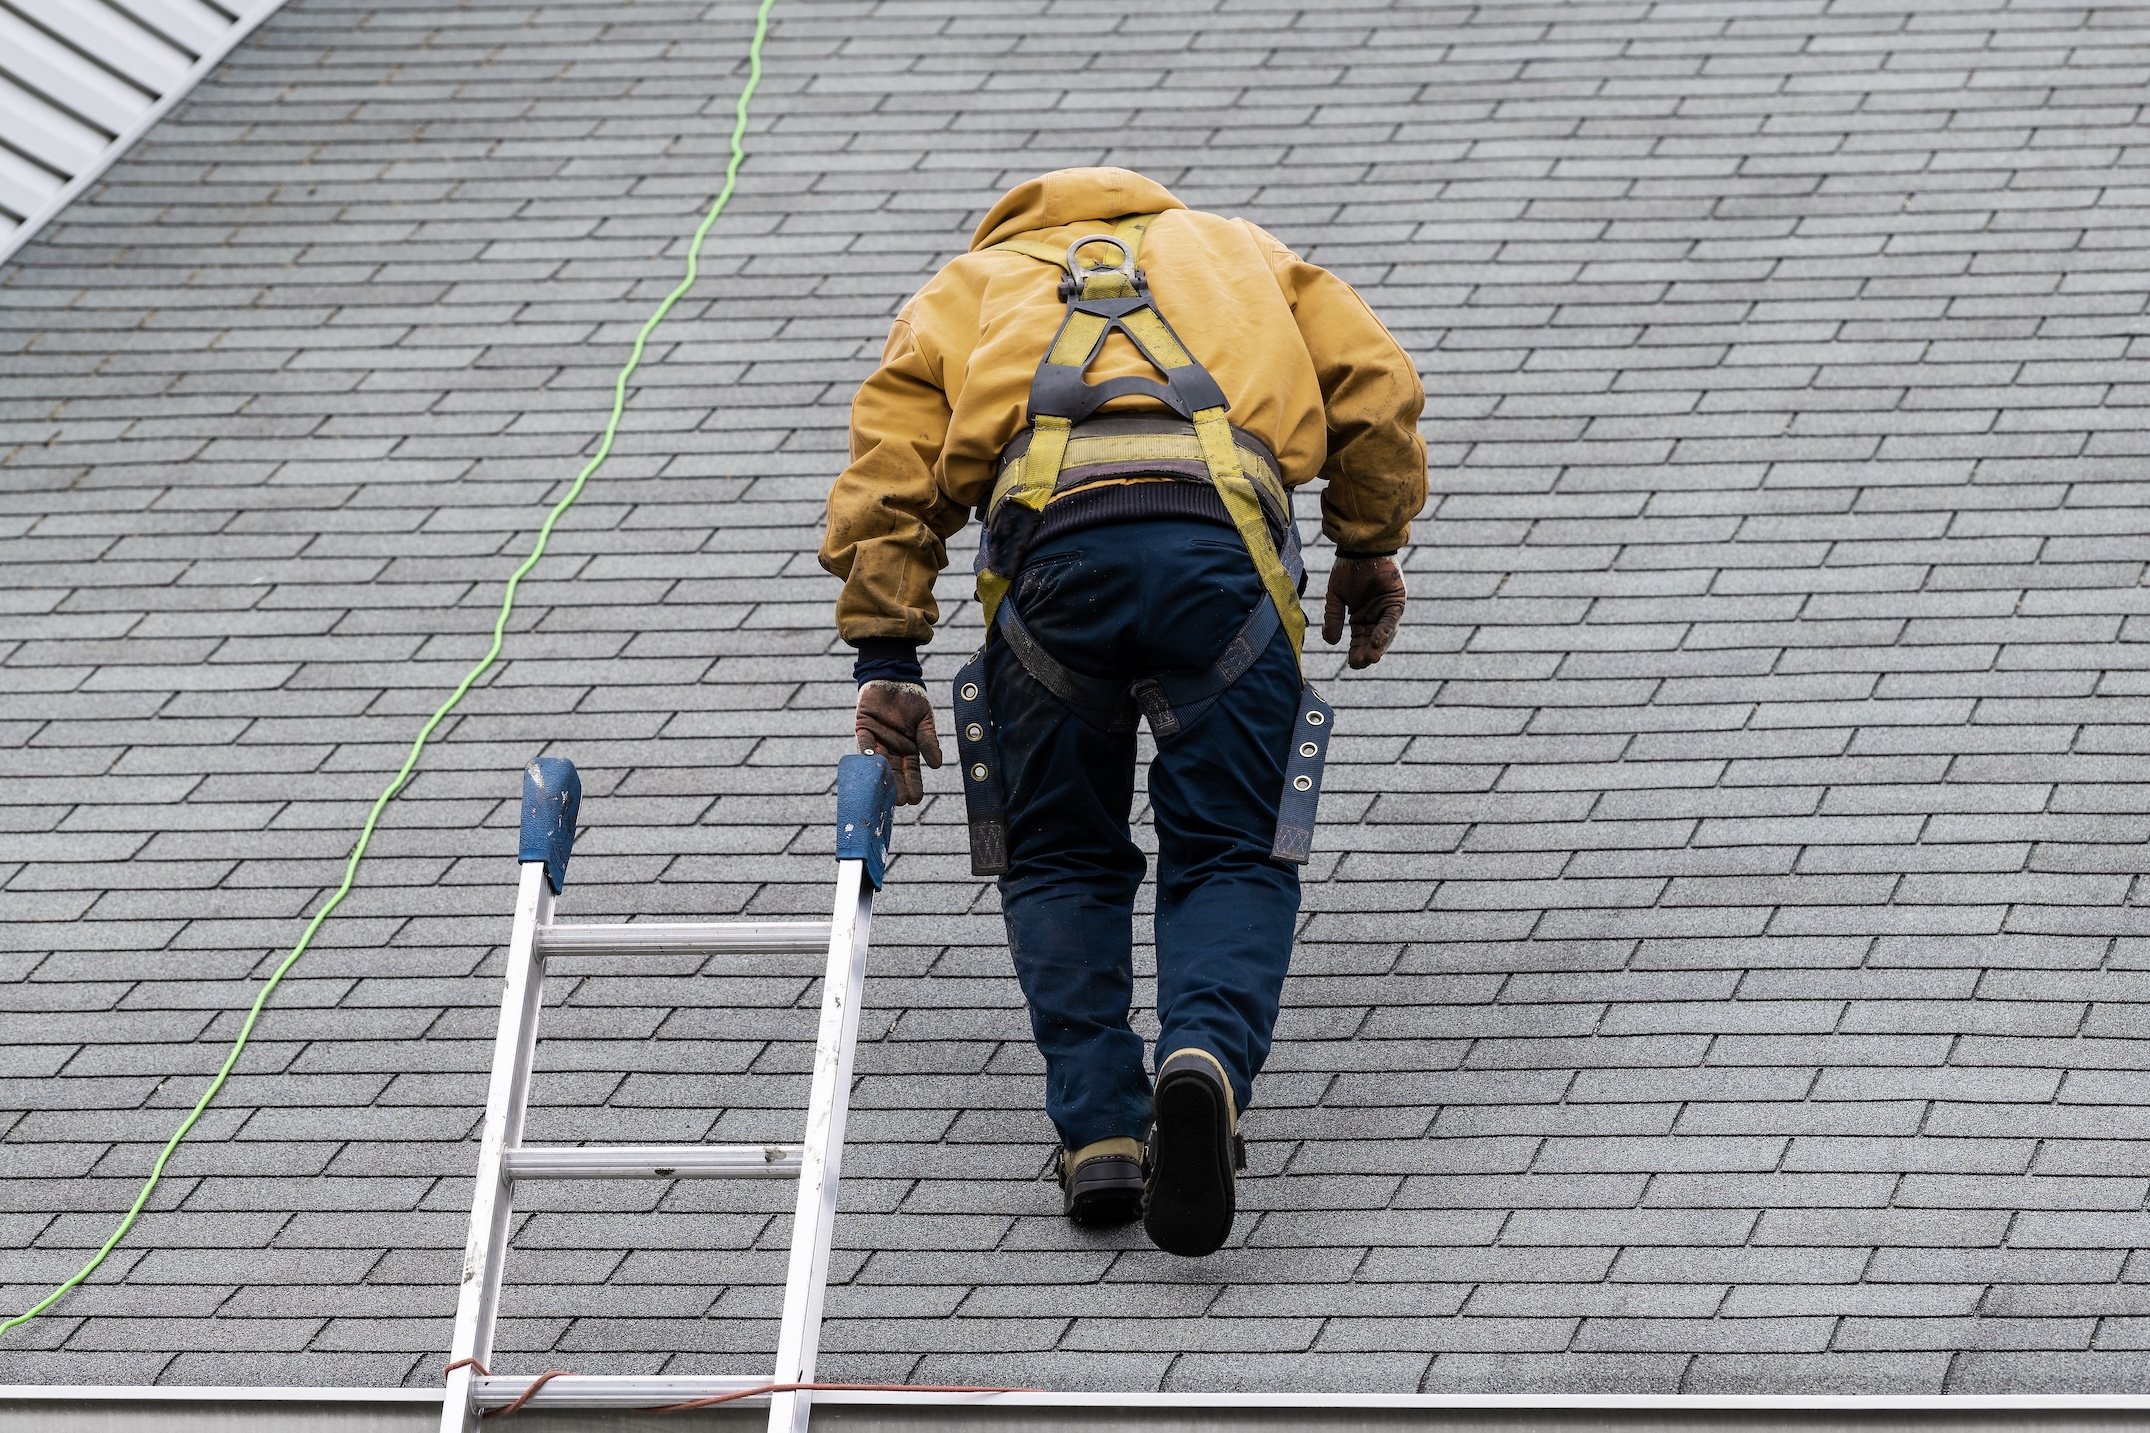
1. Gather Your Tools and Gear
Before starting, make sure you have everything you need for a thorough roof inspection. Essential roofing tools include a sturdy ladder, gloves for protection, a flashlight to check darker areas, binoculars for spotting issues from a distance, and a notepad or phone to document your findings. Safety is critical, Do not attempt to climb onto the roof unless you’re trained or experienced. If in doubt, call a professional.
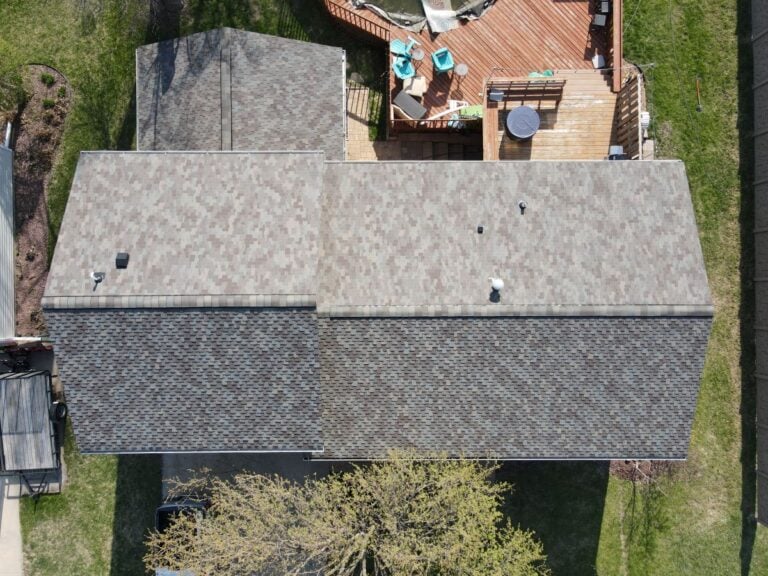
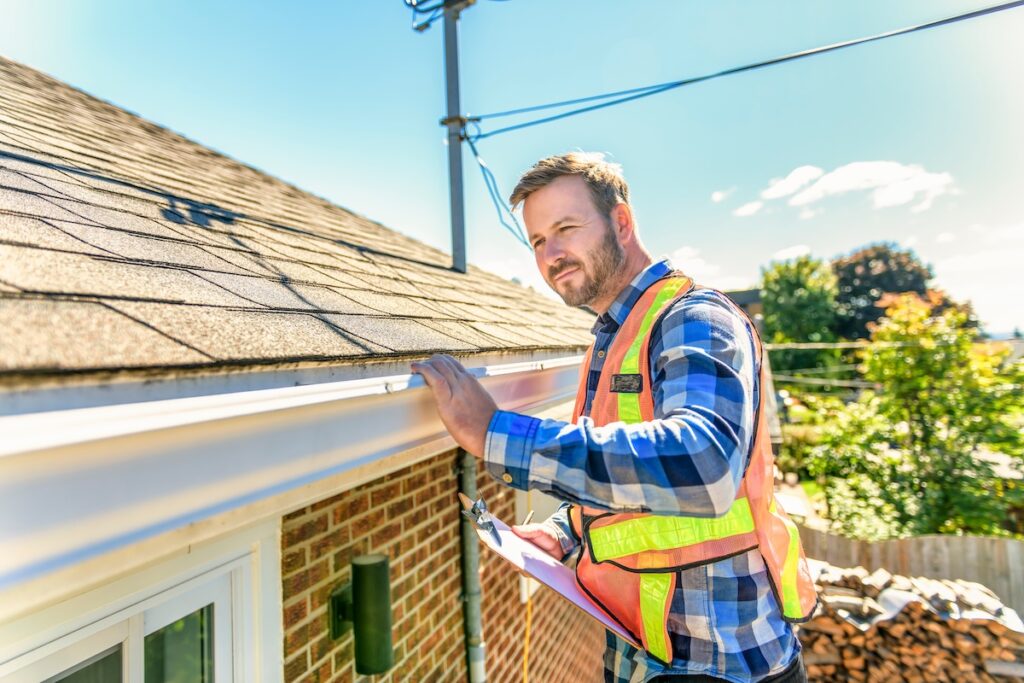
2. Start From the Ground Up
Begin your inspection by walking around your property. Observe the roof from multiple angles, paying attention to visible issues like damaged shingles, sagging areas, or debris build-up. Use binoculars to closely inspect harder-to-see spots. This step allows you to identify potential problem areas without climbing the roof right away. Take note of anything that looks out of place.
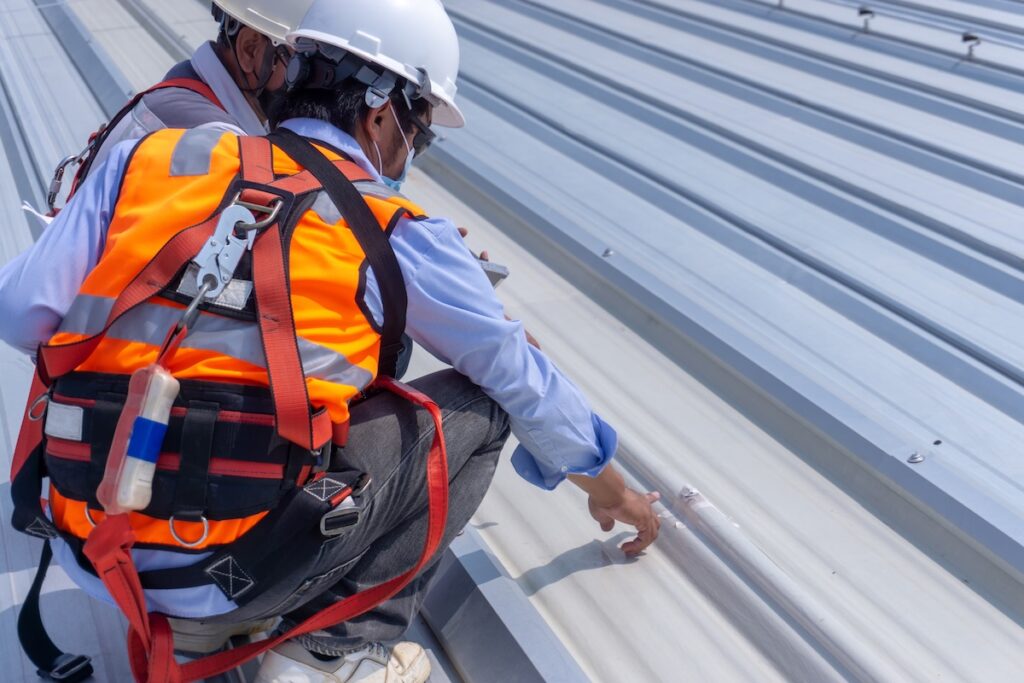
3. Carefully Inspect the Roof’s Surface
If it’s safe and you feel comfortable doing so, set up your ladder to inspect the roof up close. Once on the roof, look for signs of damage such as cracked tiles, curling or missing shingles, loose materials, or rusted flashing. Check for areas where debris like leaves, branches, or dirt has accumulated, as these can trap moisture and cause long-term damage. While you’re up there, take the time to carefully sweep away debris to prevent further issues.
4. Look Inside the Attic
Your roof inspection isn’t complete once each part of your roof is examined, and, of course, checking the attic is an important step. Use a flashlight to look for signs of trouble, such as wet or sagging insulation, light spots where water may be seeping through, or discolored wood that indicates moisture damage. These signs can provide valuable clues about leaks or structural issues that might not be visible from the outside.
5. Document and Plan Repairs
As you go through each step, take photos of any issues you find. This will help you create a detailed list of what needs attention. For minor problems, you may be able to handle repairs yourself or with basic help. However, if you notice major issues like significant water damage, large areas of missing shingles, or structural concerns, it’s best to contact professional roofers to assess and address the situation. Proper documentation will also help if you need to file an insurance claim.
Safety Tips for Roof Inspections
Roof inspections require caution. Always adhere to these best practices:
Use Safety Equipment
Always prioritize your safety by wearing the right gear. Non-slip shoes provide better traction and reduce the risk of slipping, especially on sloped or uneven surfaces. If your task involves climbing onto the roof, use a safety harness to prevent falls. Make sure the harness is securely fastened and anchored to a stable point.
Avoid Wet Surfaces
Perform roof inspections only when the surface is completely dry. Wet roofs are extremely slippery and increase the likelihood of accidents. Wait for clear, dry weather, and always check the conditions before starting any work on the roof.
Have a Buddy
Never tackle a roof inspection alone. Always have someone with you to act as a safety spotter. A buddy can stabilize the ladder, hand you tools, and assist in case of an emergency. Their presence ensures a safer and more efficient process.
Puetz Construction Knows What to Look For
When it comes to keeping your roof in top shape, having a trusted team by your side makes all the difference. At Puetz Construction, we bring years of roofing expertise, a commitment to quality, and unmatched customer care to every project. From thorough inspections to honest recommendations, we ensure your roof gets exactly what it needs to protect your home and family.
Ready to check roof inspection off your to-do list? Contact Puetz Construction today to schedule your free inspection and experience the peace of mind that comes with working with Minnesota’s trusted roofing experts!
Fresh From our Blog