Roof Replacement Timeline: What to Expect Step-By-Step
Written By: Justin Puetz | May 1, 2026 | 8 Minute Read

Planning a roof replacement can feel overwhelming, especially when you are not sure what the process looks like from start to finish. Understanding the roof replacement timeline helps you prepare your household, set realistic expectations, and avoid unnecessary stress. Whether your roof is showing signs of age or damage from a recent storm, knowing what comes next puts you in control. Learn more about how a full replacement works before diving into the details below.
In this guide, you will learn:
- Why timing your roof replacement strategically matters
- The 8 key steps of a roof replacement from inspection to final walkthrough
- What factors can affect how long your project takes
- How to prepare your home before the crew arrives
- Questions to ask your contractor to stay informed throughout
Why Your Roof Replacement Timeline Matters More Than You Think
Many homeowners focus almost entirely on cost when planning a new roof, but timeline is just as important. A poorly managed schedule can lead to extended exposure of your home’s structure to the elements, delayed insurance settlements, or living in construction limbo for weeks longer than necessary. Understanding the sequence of events helps you communicate clearly with your contractor, plan for any disruptions, and protect your investment.
- Protects your home structure: A clear timeline ensures no period of open or exposed decking drags on longer than needed, reducing moisture risk.
- Improves contractor coordination: Knowing each phase helps you ask the right questions and hold your crew accountable to agreed-upon milestones.
- Supports insurance claims: A documented timeline is useful when working with insurance adjusters, especially for storm-related damage.
- Reduces household disruption: Families with young children, pets, or home offices benefit from knowing exactly when the loudest and most disruptive work will happen.
- Helps with material lead times: Some premium roofing materials require ordering in advance, and a proper timeline accounts for that gap without pushing your project back unnecessarily.
A realistic timeline also lets you coordinate around work schedules, school calendars, and seasonal weather patterns. Homeowners in Faribault and surrounding areas, for example, know that Minnesota weather can shift quickly, making proactive planning especially important.
8 Steps of a Roof Replacement: A Complete Walkthrough
Most residential roof replacements follow a predictable sequence. While every home is different, this step-by-step breakdown reflects the standard process a reputable contractor will follow. Understanding each phase helps you stay engaged without micromanaging the project.
1. Initial Inspection and Assessment
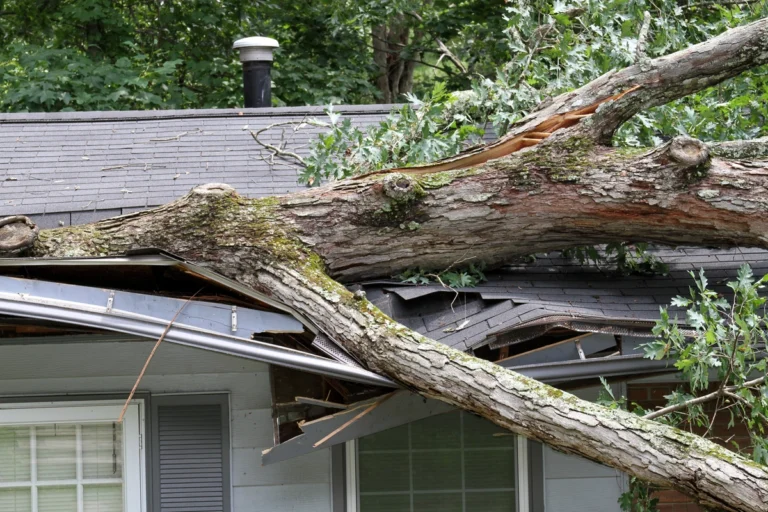
Before any work begins, a qualified roofing professional will assess the current condition of your roof. This includes checking the decking for soft spots or rot, evaluating the flashing around chimneys and vents, and identifying any areas of concern beneath the surface. In Faribault and surrounding areas, inspectors will also look for damage patterns consistent with ice dams or wind uplift common to the region.
- Expect this step to take 1 to 2 hours for most homes
- A detailed written assessment should follow within a day or two
- Photos are typically taken to document current conditions
2. Choosing Materials and Signing the Contract
Once the inspection is complete, you will review material options with your contractor. Asphalt architectural shingles remain the most popular choice for their balance of durability and cost, but you may also consider impact-resistant options, designer profiles, or metal roofing depending on your budget and goals.
- Material selection can take anywhere from one day to a week depending on how quickly decisions are made
- Contracts should clearly outline scope, timeline, payment schedule, and warranty terms
- This is the right time to confirm any manufacturer or workmanship warranty details
3. Permit Pulling and Scheduling
Most municipalities require a building permit for a full roof replacement. Your contractor should handle this on your behalf, but it is worth confirming upfront. Permit timelines vary by location, and in some areas they can add a few days to the overall project start date.
- Permit approval typically takes 1 to 5 business days
- Scheduling depends on the contractor’s current workload and weather forecasts
- You will typically receive a confirmed start date once the permit is in hand
4. Material Delivery
A few days before work begins, your new roofing materials will be delivered to your property. This usually includes bundles of shingles, underlayment rolls, new flashing, ridge caps, and fasteners. Delivery is often staged directly on your roof using a shingle loader to reduce heavy lifting during installation.
- Expect a delivery truck and some noise during this step
- Clear your driveway or staging area as requested by your contractor
- Confirm quantities match the contract before the crew arrives
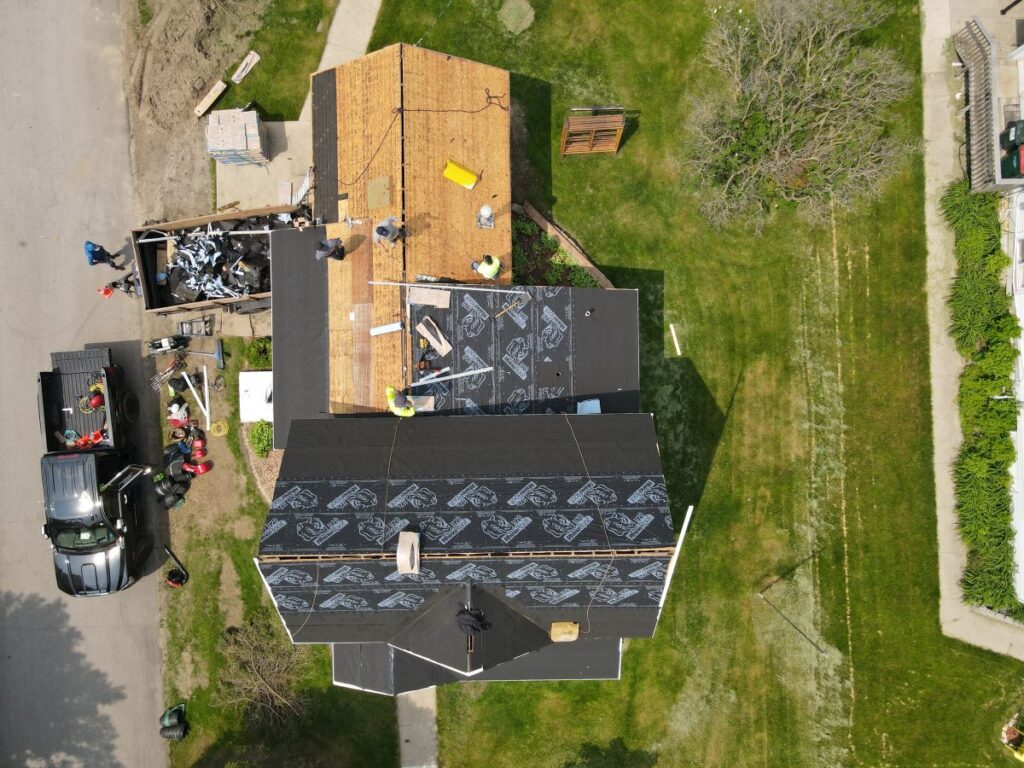
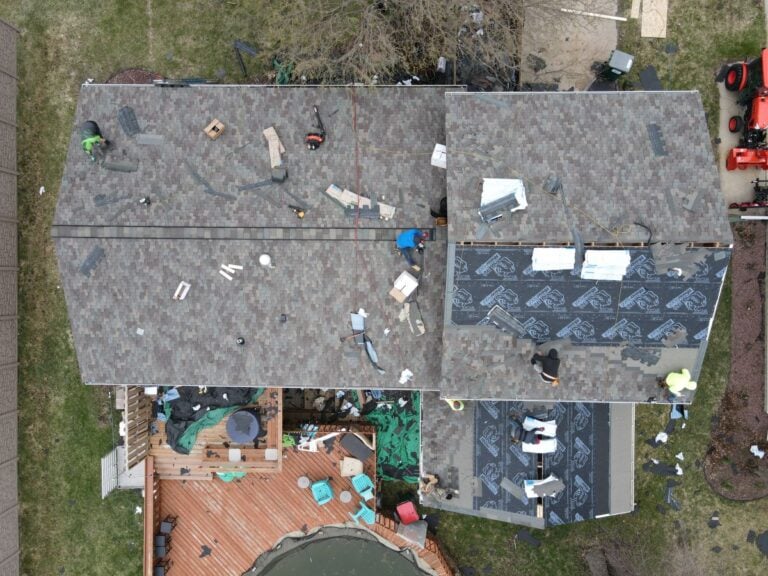
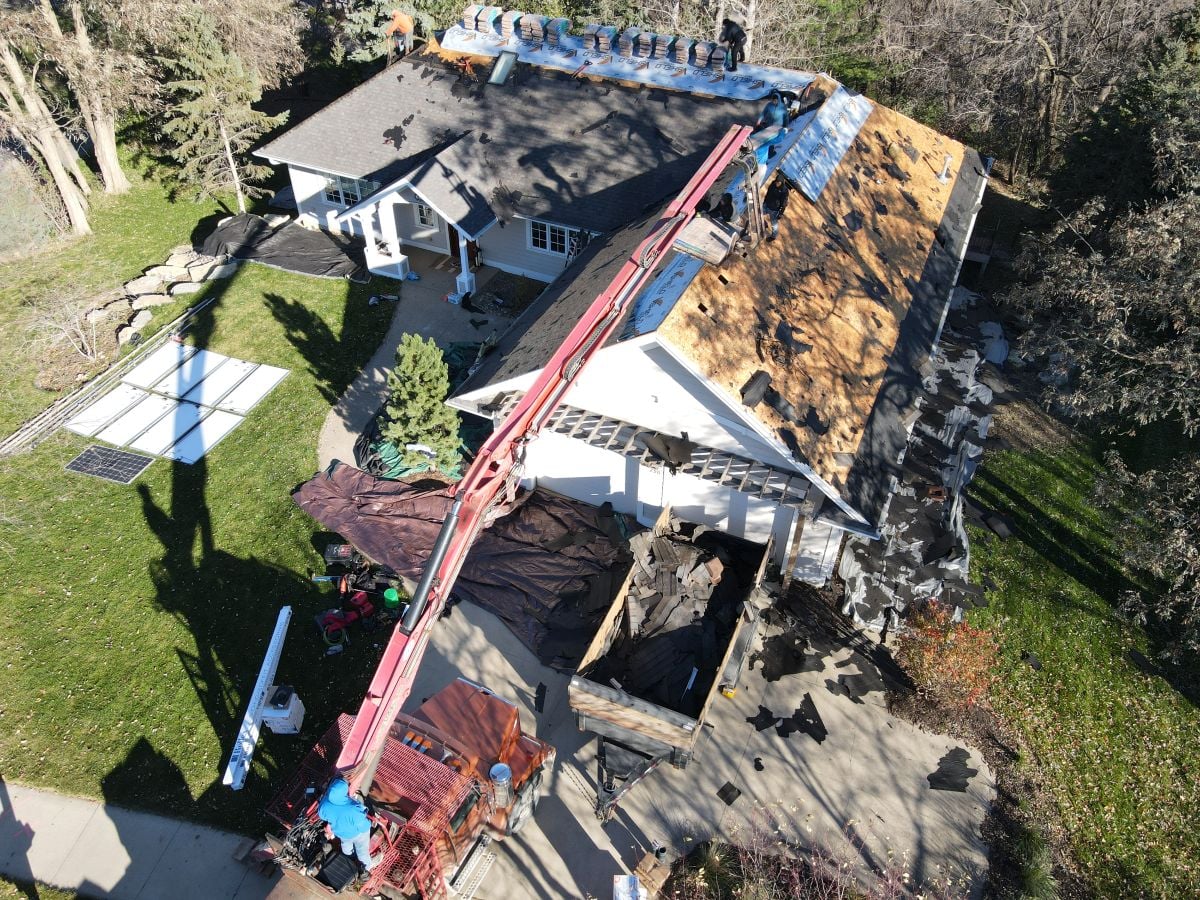
5. Tear-Off of Existing Roofing
On installation day, the crew will begin by removing your existing shingles, underlayment, and in some cases old flashing. This is the loudest part of the project and generates significant debris. A responsible contractor will protect your landscaping with tarps and use a magnetic roller to pick up stray nails from the yard.
- Tear-off for an average home typically takes half a day to a full day
- You will want to keep children and pets away from the work zone
- Dumpsters or trailers are usually staged in the driveway for debris removal
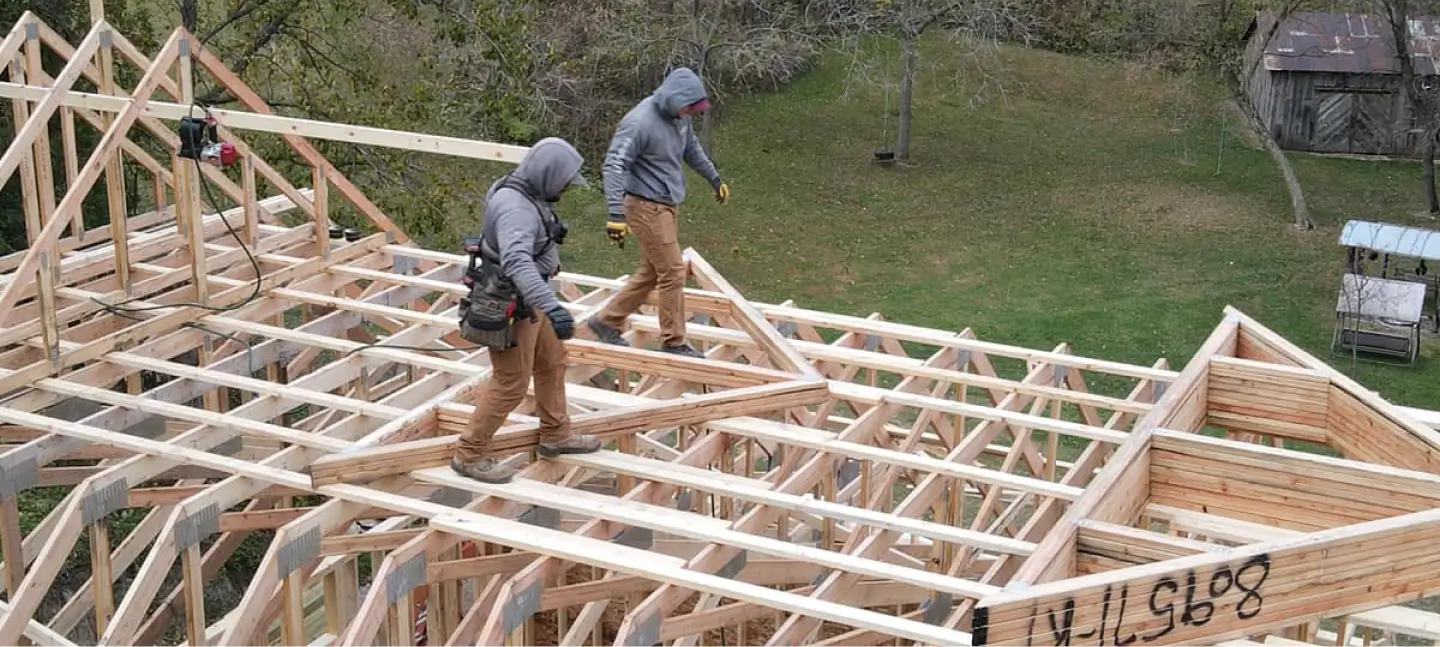
6. Deck Inspection and Repairs
Once the old roofing material is stripped away, the crew will inspect your roof decking closely. Any soft, rotted, or damaged sections of OSB or plywood sheathing will need to be replaced before the new roof goes on. This is a critical step that honest contractors will not skip, even if it adds a small cost.
- Deck repairs are typically billed per sheet at a pre-agreed rate
- Skipping this step can void your new roof warranty and lead to early failure
- Most homes require minimal deck work, but older roofs may need more attention
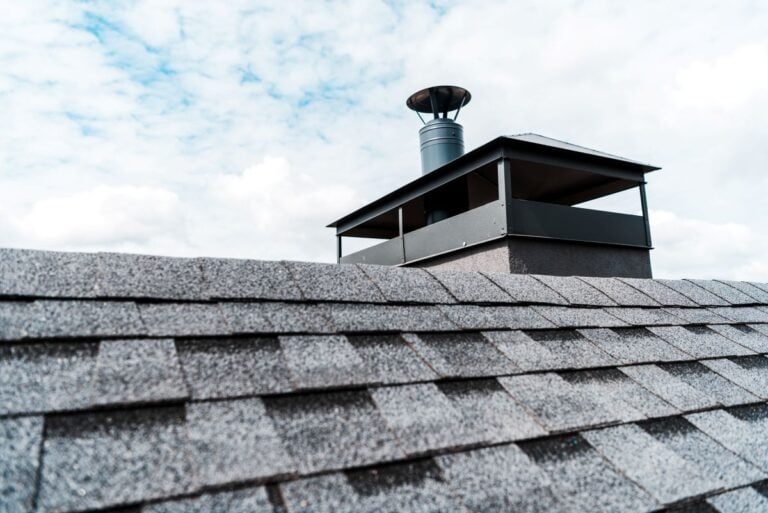
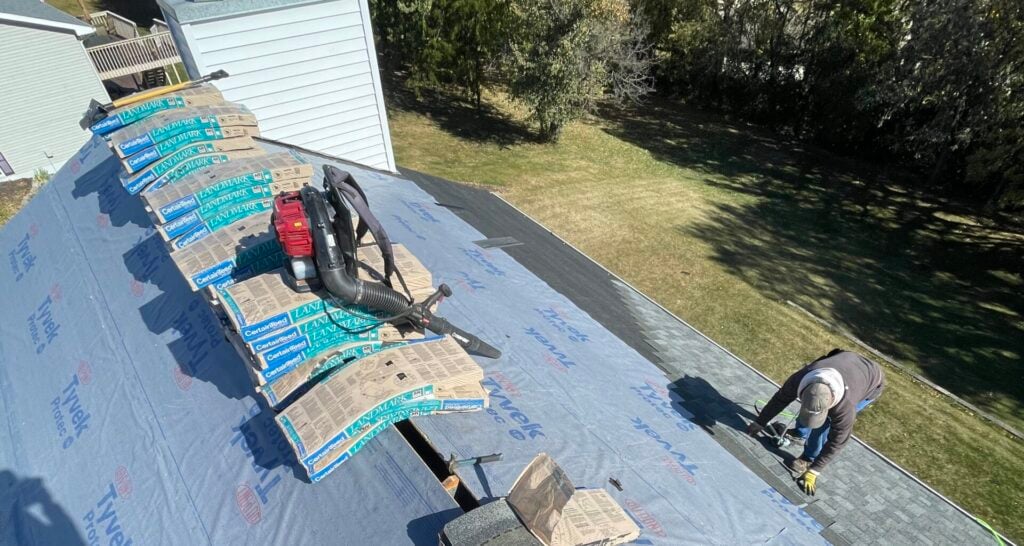
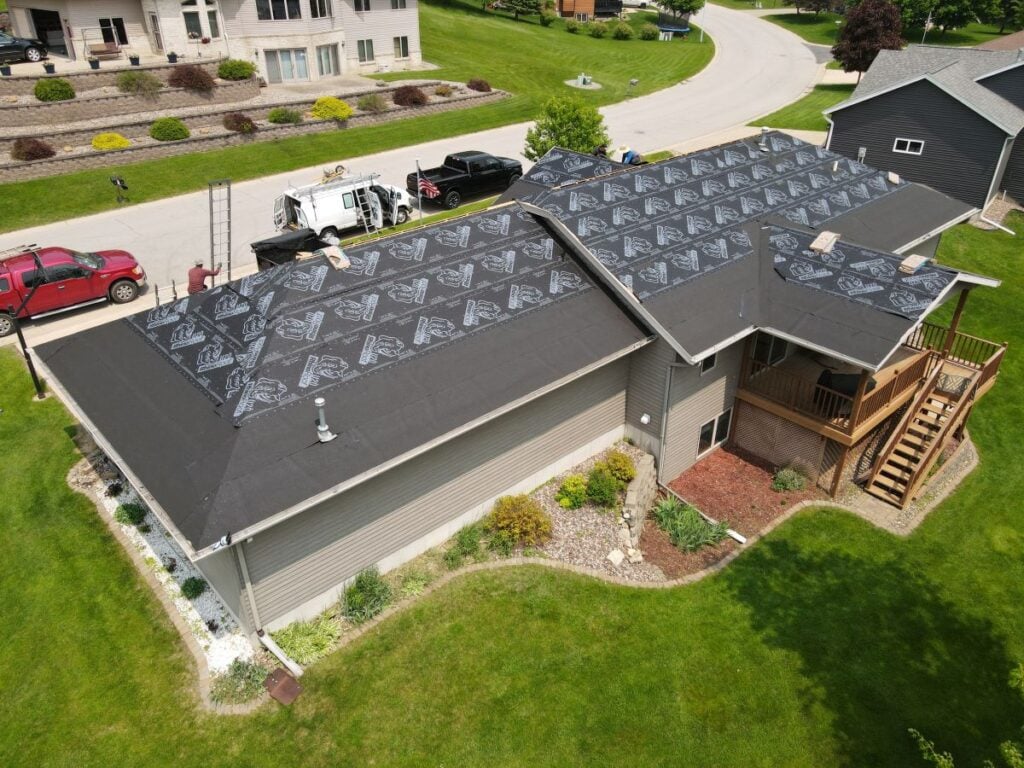
7. Installation of Underlayment, Flashing, and Shingles
With a solid deck in place, the crew installs synthetic or felt underlayment across the entire roof surface, followed by new drip edge and step flashing. Shingles are then applied from the bottom up in overlapping rows. Ridge vents or box vents are installed near the end of this phase to ensure proper attic ventilation.
- Full installation on an average home typically takes one to two days
- Weather can pause this phase, so your crew may work in stages
- Proper ventilation is not optional, it directly affects shingle lifespan and energy efficiency
8. Final Inspection and Cleanup
Once shingles are fully installed, your contractor should perform a thorough walkthrough with you. This includes checking all flashing seals, confirming ridge cap installation, and reviewing any penetration points like pipes or skylights. A final magnetic sweep of your yard completes the cleanup process.
- Ask to walk the project with your contractor before signing off
- Request your warranty documentation in writing at this stage
- Final payment is typically due upon your satisfaction and project completion
Following these eight steps in order is what separates a smooth, well-managed roof replacement from a frustrating one. Knowing where you are in the process at any given point makes the whole experience far easier to navigate.
Factors That Can Affect Your Roof Replacement Timeline
Even with the best planning, certain variables can shift your project schedule. Here is a quick breakdown of the most common factors and what to expect from each.
| Factor | What Causes the Delay | Typical Time Added |
| Weather Conditions | Rain, high winds, or temperatures below 40°F halt installation | 1 to 3 days |
| Roof Size and Complexity | Multiple valleys, dormers, skylights, or steep pitches slow each phase | 1 to 2 extra days |
| Material Availability | Specialty or designer shingles may need to be ordered in advance | 1 to 2 weeks |
| Permitting Delays | Some jurisdictions process permits slower, especially for older homes | 1 to 5 business days |
Understanding these variables ahead of time makes the whole process feel far less unpredictable. The next step is making sure your home is ready before the crew ever sets foot on your property.
How to Prepare Your Home Before Roofing Day
A little preparation on your end goes a long way toward a smooth installation experience. Most of these steps take less than an hour but can prevent headaches on the day work begins.
- Clear the driveway and staging area. Your crew needs space for equipment, a trailer or dumpster, and safe movement around the perimeter. Move vehicles from the driveway the evening before work starts.
- Protect attic contents. Vibration from hammering can cause dust and debris to fall from your attic rafters and insulation. If you have items stored in the attic, cover or relocate them temporarily.
- Relocate outdoor furniture and decor. Patio furniture, potted plants, outdoor rugs, and decorative items near the home should be moved away from the foundation before the crew arrives.
- Alert your neighbors. A heads-up about noise and driveway access is always appreciated, especially if shared driveways or narrow streets are involved.
- Ask about payment and documentation. Confirm how final payment will be handled and ask when to expect your warranty paperwork, permit closure, and lien waiver documents.
Once your home is prepped and the crew has everything they need, the only thing left to do is let the professionals get to work. The reward at the end is a roof built to last for decades.
Start Your Roof Replacement the Right Way
A well-executed roof replacement protects your structure, improves energy efficiency, and gives you years of reliable protection. At Puetz Construction, we work with homeowners in Faribault and surrounding areas to make the entire process as straightforward and stress-free as possible, communicating clearly at every step so there are no surprises. If your roof is showing its age or you have concerns after a recent storm, contact us today to schedule your inspection and get started.
Fresh From our Blog