
Flat Roof Flashing: 6 Types and Installation Guide
Written By: Justin Puetz | July 8, 2026 | 10 Minute Read

Most flat roof leaks do not originate in the middle of a membrane. They start at the edges, the transitions, and the penetrations where two surfaces meet and where water has its best opportunity to find a path inside. Flat roof flashing is the system of metal or membrane components that seals those vulnerable transitions, and getting it right is as important as the membrane itself. If you are also evaluating the broader condition of a commercial or low-slope roof, this resource on flat and low-slope roofing systems covers the full picture.
What you’ll learn:
- Why flashing is the most leak-prone area on any flat roof
- The six main types of flat roof flashing and where each is used
- How flashing is properly installed for long-term watertight performance
- Common flashing failures and how to identify them early
- When to repair flashing versus when to replace it entirely
Why Flashing Failures Cause More Leaks Than Membrane Failures
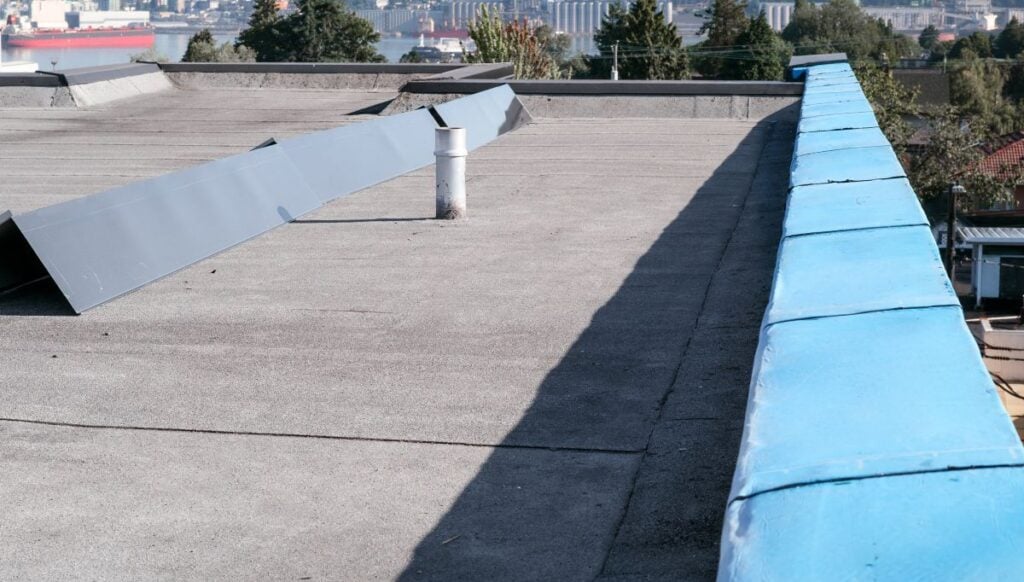
The membrane on a flat roof gets most of the attention, but industry data consistently shows that the majority of flat roof leaks originate at flashing details rather than in the field of the membrane. This makes sense when you consider what flashing is asked to do. It must create a watertight seal at every point where the membrane terminates, where it transitions to a vertical surface, or where a pipe, drain, curb, or mechanical unit penetrates the roof plane. Those locations concentrate stress from thermal movement, foot traffic, and weathering in ways the open field of the roof never experiences.
Here is why flashing deserves as much attention as any other component of a flat roofing system:
- Flashing handles the highest-stress transitions: Every place where two different materials or planes meet is a potential failure point. Flashing is the only thing standing between those joints and the interior of the building.
- Improper installation is immediately costly: A poorly detailed flashing connection that fails in the first winter can cause interior water damage far exceeding the cost of doing the job correctly from the start.
- Flashing affects the entire roof warranty: Most commercial roofing warranties explicitly require that all flashing details be completed per manufacturer specifications. Non-compliant flashing voids coverage across the entire system.
- Early failure is often invisible: Flashing can separate at the bond line without any visible sign on the surface. By the time water appears inside, moisture may have been infiltrating for weeks or months.
For building owners in Woodbury and surrounding areas, where aggressive freeze-thaw cycles put repeated stress on every joint and transition, flashing integrity is a year-round concern that directly affects the long-term performance of the entire roof system.
6 Types of Flat Roof Flashing and Where Each Is Used
Flat roof flashing is not a single product. It is a category of roofing components that includes several distinct types, each designed for a specific location and purpose. Using the wrong flashing type in a given location, or skipping a flashing detail entirely, is one of the most common sources of preventable roof leaks. The six types below represent the core flashing system on most commercial and low-slope roofs.
1. Base Flashing
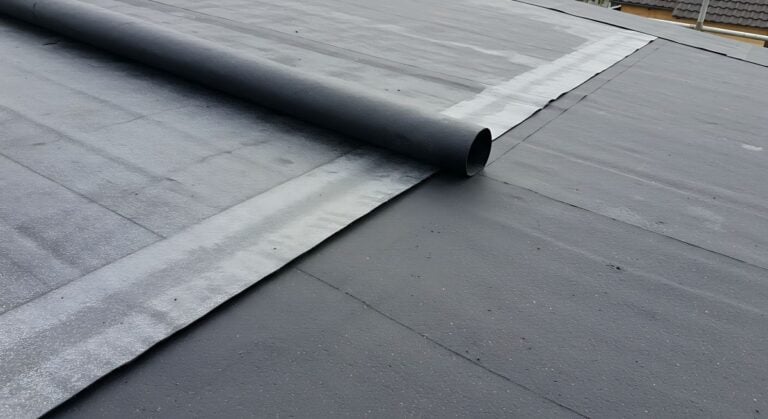
Base flashing is the primary flashing component at any location where the membrane meets a vertical surface, such as a parapet wall, a rooftop curb, or a mechanical unit base. It runs up the vertical surface and overlaps the horizontal membrane below, creating a continuous waterproofing connection between the two planes. Base flashing is typically fabricated from the same membrane material as the roof field to ensure compatibility and a reliable bond. The height above the finished roof surface must meet minimum requirements, typically four inches at minimum and often eight inches or more in locations prone to ponding or snow accumulation.
- Base flashing must be fully adhered to the vertical substrate with compatible adhesive
- Wrinkles or voids in the bond create stress points that fail under thermal cycling
- Any penetration through base flashing requires its own individual seal
2. Cap Flashing
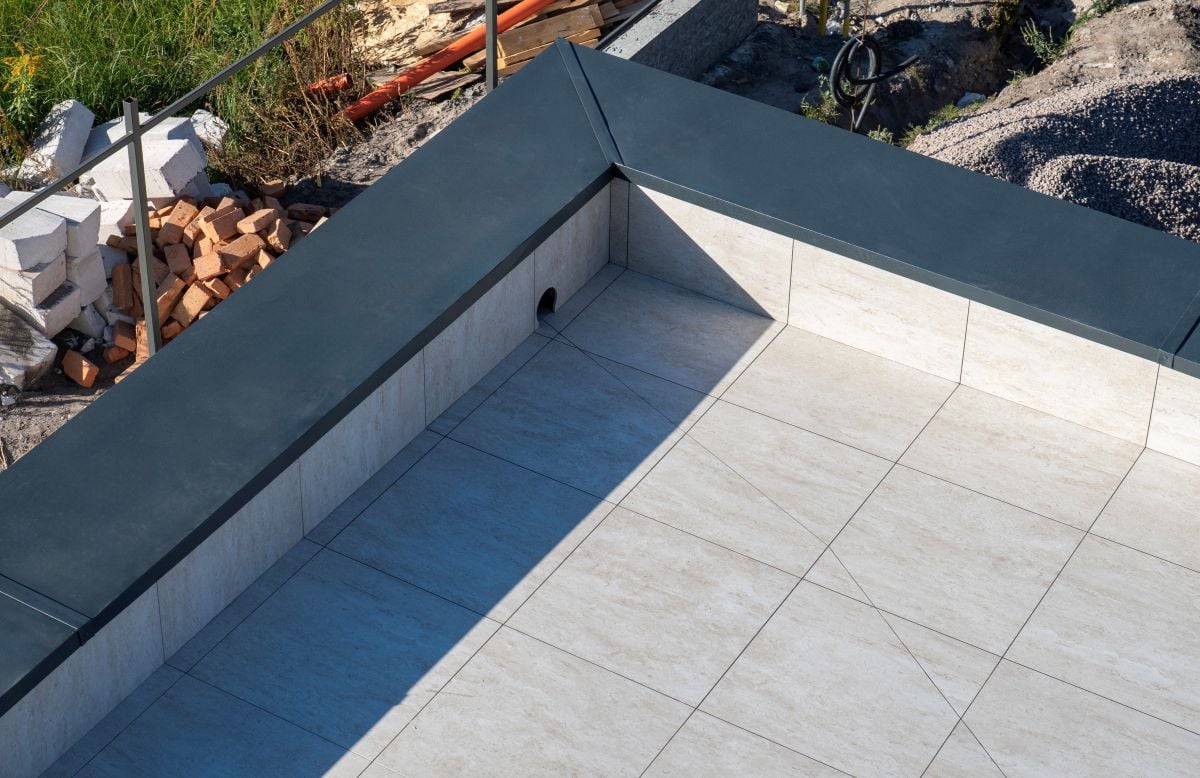
Cap flashing, also called counterflashing, is installed above the base flashing and overlaps it from above. Its purpose is to prevent water from getting behind the base flashing at the top edge. On parapet walls, cap flashing is typically a metal component that is embedded into a reglet cut into the masonry or attached to the top of the wall with a coping cap. The overlap between the cap flashing and the base flashing below it must be sufficient to shed water without relying on sealant alone. On buildings in Woodbury and surrounding areas, where ice can form at roof edges and push water upward, the cap-to-base overlap dimension is especially important.
3. Drip Edge Flashing
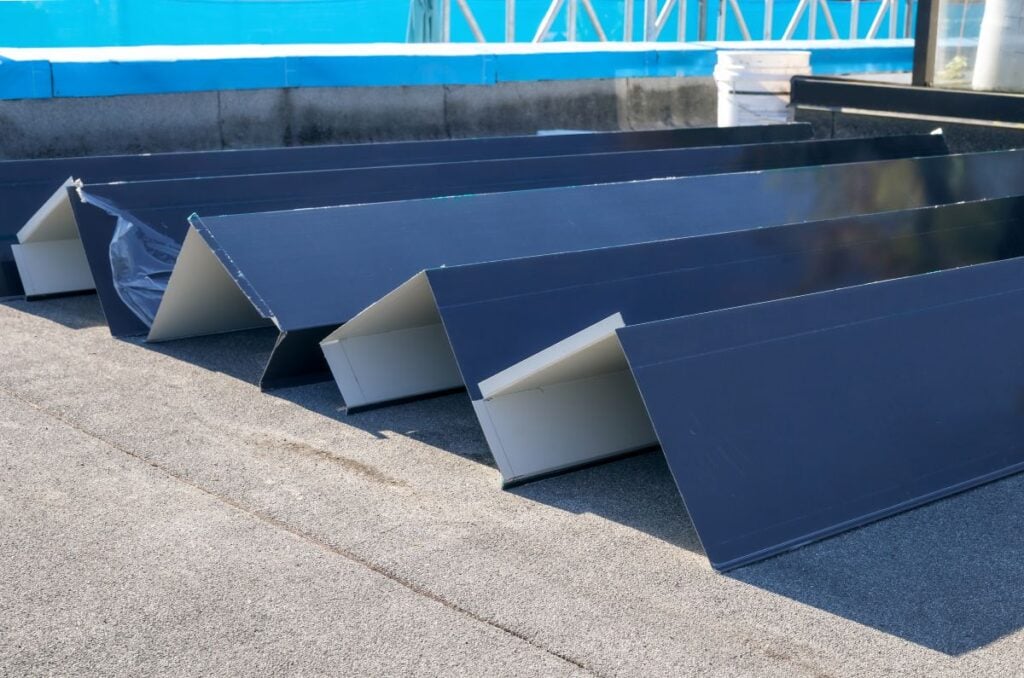
Drip edge flashing runs along the perimeter of the roof at any open edge where water can drip free of the building. It directs water away from the fascia and wall below, preventing moisture from tracking back under the membrane edge or saturating the substrate. Drip edge is typically fabricated from aluminum, galvanized steel, or copper and installed at the roof deck edge before the insulation and membrane go on. The profile must account for the thickness of the insulation and membrane assembly so water drains freely rather than pooling at the edge.
4. Pipe and Penetration Flashing
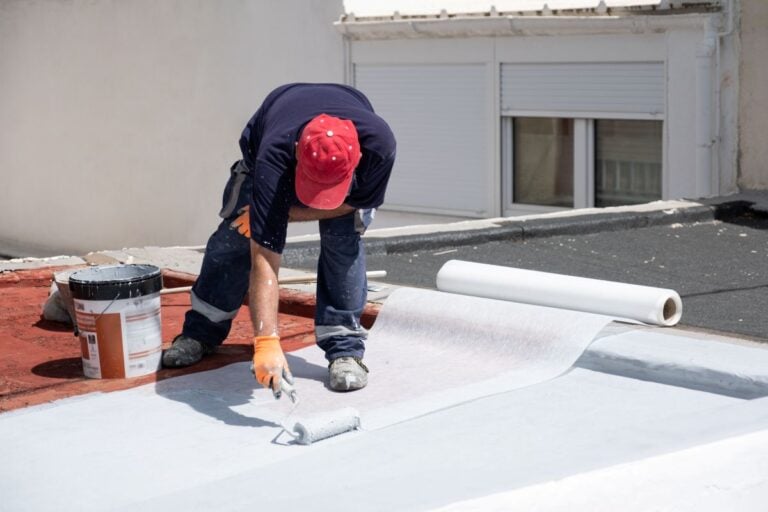
Every pipe, conduit, drain, or vent that passes through the roof membrane requires individual flashing. Pipe flashings are typically prefabricated as a cone or collar shape that fits over the pipe and integrates with the surrounding membrane. On EPDM and TPO roofs, these are available as factory-fabricated accessories that can be heat-welded or bonded to the field membrane. The seal must accommodate thermal movement without breaking the waterproof bond. Oversized or non-round penetrations often require custom-fabricated flashing rather than prefabricated accessories.
- Pipe flashings must be the correct diameter for the penetrating element to maintain a tight seal
- The base of the pipe flashing must be fully integrated into the surrounding membrane
- All pipe flashings should be inspected annually for separation, cracking, or deterioration
5. Curb Flashing
HVAC units, skylights, roof hatches, and exhaust fans sit on elevated curbs that protrude above the roof surface. Curb flashing wraps around the base of these curbs and connects the curb structure to the surrounding membrane in a watertight assembly. It must be installed before the mechanical unit is set and must extend a minimum height up the curb sides to prevent water from topping the flashing during heavy rain or snowmelt. Curb flashing is one of the highest-traffic areas on commercial roofs, as HVAC technicians regularly access these units, making durability a particularly important consideration.
6. Expansion Joint Flashing
Large commercial roofs incorporate expansion joints to accommodate the thermal movement of the building structure, allowing sections to move independently without stressing the roofing assembly. Expansion joint flashing must bridge the gap between roof sections while remaining fully watertight and flexible enough to accommodate the anticipated range of movement. Prefabricated expansion joint covers in compatible membrane materials are available for most roof systems. Improperly designed expansion joint flashing is a common source of recurring leaks on large commercial roofs in Woodbury and surrounding areas, where temperature swings between summer and winter are substantial.
Each of these six flashing types serves a distinct purpose, and a complete flat roof system requires all of them to be properly detailed. A missing or poorly executed detail at any one location creates a vulnerability that the rest of the system cannot compensate for.
How Flat Roof Flashing Is Properly Installed
Correct flashing installation follows a specific sequence and set of standards that vary by membrane type but share common principles across all systems. Understanding what proper installation looks like helps building owners evaluate contractor work and identify potential problems before they become leaks.
- Sequence matters. Flashing is installed in a specific order relative to the membrane and insulation. Drip edge and base substrates go down before the membrane field; the membrane integrates with base flashing components before cap flashings are applied from above. Reversing this sequence creates overlaps that direct water into the system rather than away from it.
- Surface preparation is non-negotiable. All substrates receiving flashing adhesive or membrane bonding must be clean, dry, and primed per manufacturer requirements. Dirt, moisture, frost, or incompatible coatings at the bond line will cause adhesion failure, often within the first heating or cooling season.
- Minimum dimensions must be met. Height minimums for base flashing, overlap dimensions for cap flashing, and setback requirements for penetration flashings reflect minimum performance thresholds established through industry testing. Contractors who reduce these dimensions to save material are creating systems that will fail before their expected service life.
- All terminations must be mechanically secured and sealed. The top edge of base flashing must be mechanically fastened and sealed to prevent water from getting behind it. Sealant alone at a flashing termination is not an acceptable detail. Fasteners hold the flashing under wind load and thermal stress; sealant keeps water from tracking along the fastener penetrations.
- Compatibility between materials must be verified. Not all flashing materials are compatible with all membrane systems. The flashing components must be specified by the membrane manufacturer and installed per their published details to maintain warranty coverage and performance.
When all five of these principles are followed consistently, flashing details that are properly installed at the start of a roof’s life should perform reliably for decades. When any one of them is skipped or compromised, the failure timeline shortens considerably.
Recognizing and Addressing Common Flashing Failures
Flashing failures follow recognizable patterns, and knowing what to look for during routine inspections can help building owners identify problems while they are still manageable. The cost difference between catching a flashing problem early and addressing it after water infiltration has saturated insulation or damaged interior finishes is substantial.
Separation at the Bond Line
The most common flashing failure is adhesion loss where the flashing material bonds to the vertical substrate or the horizontal membrane. This appears as a gap, a lifted edge, or a bubble in the flashing material, and is most likely at parapet corners where thermal movement and wind load concentrate stress. When caught early, bond-line separation can often be repaired by cleaning, re-priming, and rebonding the affected area.
Cracking or Brittleness
Flashing materials degrade over time through UV exposure and thermal cycling. Modified bitumen flashings are particularly susceptible to surface cracking after years of sun exposure. Surface cracks that have not yet opened fully can sometimes be sealed with compatible sealant, but widespread brittleness indicates the flashing system is approaching the end of its service life and should be replaced rather than patched.
Coping and Cap Displacement
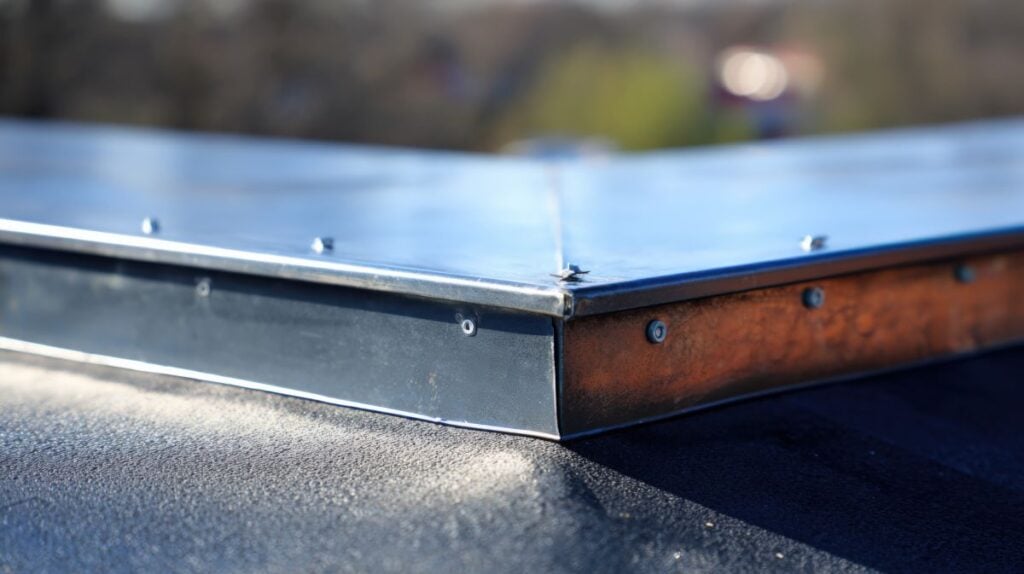
Metal coping caps on parapet walls can shift, separate at joints, or lift at fastening points over time, particularly in high-wind climates. Displaced coping allows water to enter the top of the parapet wall cavity, which migrates down behind the base flashing. This failure type is particularly deceptive because the water entry point is above the roofline, making the connection to the interior leak non-obvious during a standard inspection.
Addressing flashing problems promptly is always less expensive than managing continued water infiltration. When more than one flashing type shows signs of failure simultaneously, it often indicates the system has reached the end of its useful life and comprehensive replacement is more cost-effective than piecemeal repairs.
Flashing Your Flat Roof Right the First Time
Flat roof flashing is where roofing craftsmanship is most visible and where shortcuts produce the most immediate consequences. Every transition, every penetration, and every edge termination is an opportunity to either protect the building for decades or create a recurring leak that costs far more to remediate than to prevent. Puetz Construction approaches every flat roofing project with the same standard: flashing details done correctly, to manufacturer specifications, with materials selected for the specific membrane system and climate. If you have questions about your roof flashing or are planning a commercial roofing project in Woodbury and surrounding areas, contact us today and let’s evaluate your roof together.
Fresh From our Blog