Flat Roof Installation Process Explained Step-by-Step
Written By: Justin Puetz | June 10, 2026 | 9 Minute Read

If you own a commercial or residential property with a low-slope roofline, understanding flat roof installation is one of the smartest things you can do before starting a project. A well installed flat roof protects your building from water infiltration, improves energy efficiency, and can last for decades with high quality materials and skilled craftsmanship. Whether you’re planning a new flat roof or replacing an aging system, knowing what the installation process looks like helps you make informed decisions and work confidently alongside your contractor. For property owners in La Crosse and surrounding areas exploring options for low-slope roofing, you can learn more about the full scope of professional roofing solutions available for larger building projects.
What You’ll Learn
- How flat roofs differ from pitched roofs and why that changes the installation process
- The step-by-step process a professional crew follows from inspection to final inspection
- Which popular flat roofing materials work best and what their trade-offs are
- How proper drainage and proper slope affect long-term roof performance
- What flat roof installation typically costs and which factors influence the price
- Flat roof maintenance habits that prevent common flat roof problems
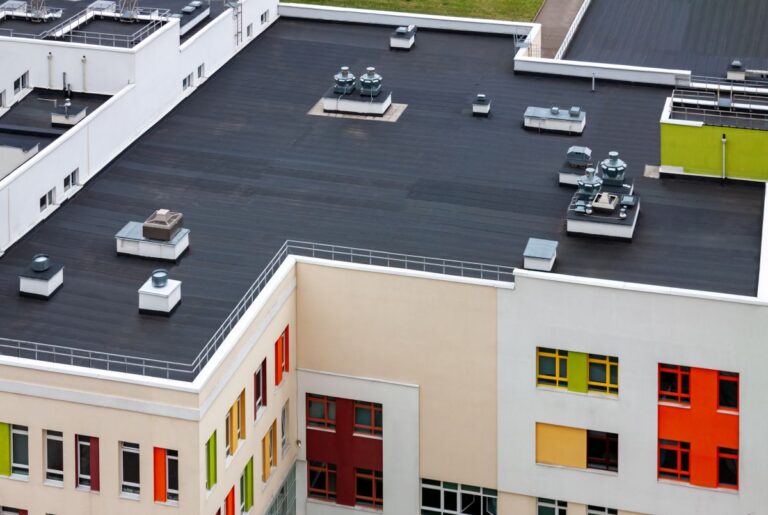
What Sets Flat Roofs Apart From Every Other Roofing System
A flat roof system operates under fundamentally different conditions than a pitched roof. Without a steeper slope to shed water quickly, every component, from the structural deck and insulation layer to the waterproofing membrane and drainage system, must work together precisely to prevent standing water, moisture buildup, and water pooling. On commercial buildings and residential properties alike, these systems demand a level of planning and execution that goes well beyond a standard sloped roof replacement.
Flat roofs offer real advantages worth noting. They create additional usable space for rooftop gardens, solar panels, and HVAC equipment, and they tend to offer easier maintenance access than steeply pitched alternatives. The tradeoff is that they require more careful installation and more frequent maintenance checks to perform reliably. Here is why getting the installation right makes all the difference:
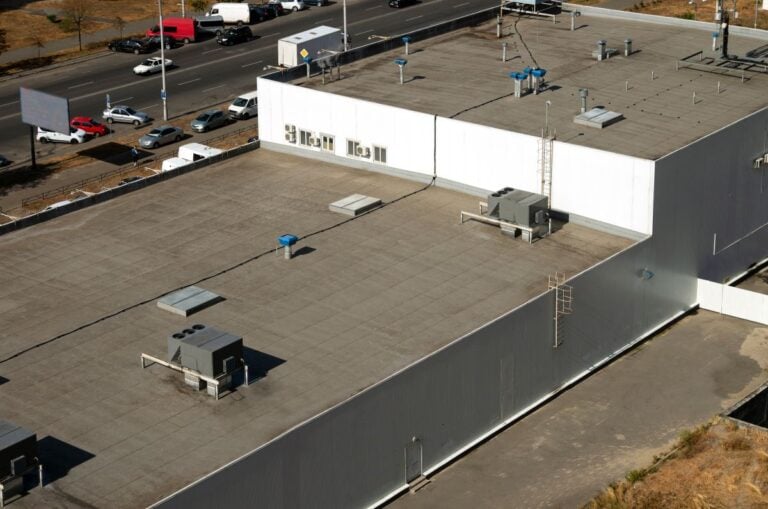
- Standing water risk: Unlike pitched roofs, flat roofs rely entirely on proper slope and a working drainage system to move water off the surface. Without both, water pooling and costly repairs follow.
- Energy efficiency: A correctly installed insulation layer combined with a reflective coating or TPO roofing membrane can significantly lower cooling costs and help regulate indoor temperatures year-round.
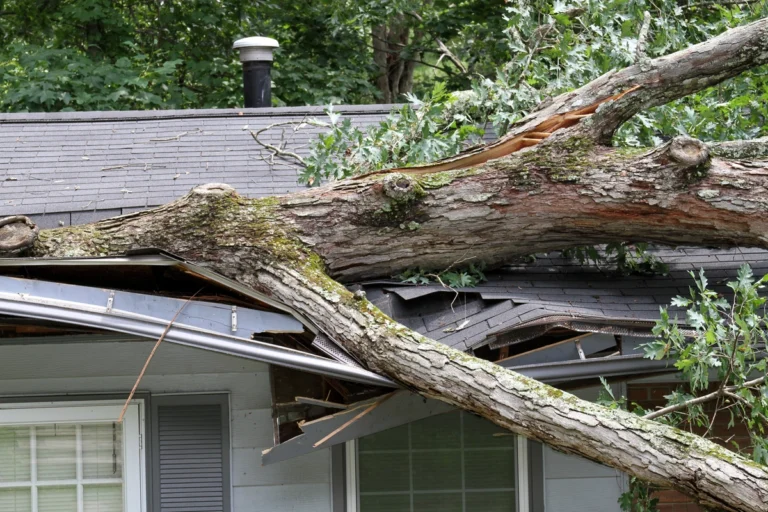
- Structural protection: Water infiltration through failed roof edges, roof penetrations, or parapet walls can compromise the underlying structure and lead to repairs far more expensive than the roof itself.
- Code compliance: Local building codes in La Crosse and surrounding areas set minimum slope requirements and installation standards that must be met to pass inspection and maintain your warranty.
Understanding these differences positions you to evaluate contractor proposals accurately and invest in an installation built to last.
7 Steps of the Flat Roof Installation Process
A professional flat roof installation follows a defined sequence. Skipping or rushing any stage can compromise the entire system, from the structural deck to the final waterproofing membrane. Here is what the process looks like from start to finish.
1. Initial Inspection and Assessment
Before any materials are ordered, a qualified roofing professional inspects the existing roof structure or new construction framing. This step identifies rot, moisture damage, or structural integrity issues that must be resolved before the new system goes down. The inspector evaluates existing drainage points, roof penetrations, and load-bearing capacity, and flags any drainage system deficiencies early, when corrections are far less costly.
- Inspect the structural deck and oriented strand board for soft spots and moisture damage
- Evaluate existing drainage points and identify needed interior drains or scuppers
- Document all roof penetrations, parapet walls, roof edges, and partial roof sections
2. Tear-Off and Surface Preparation
On replacement projects, the old roofing material is removed down to the deck. Covering over damaged or wet materials traps moisture and causes the underlying structure to deteriorate from beneath. Once cleared, the deck is cleaned, dried, and inspected a second time. Tear-off labor and disposal typically account for 10 to 15 percent of the total project cost, which is worth factoring into your budget early.
- Remove existing membrane, gravel, modified bitumen, or built up roofing layers
- Dispose of debris in accordance with local building codes
- Prepare the deck surface for a clean, bondable substrate
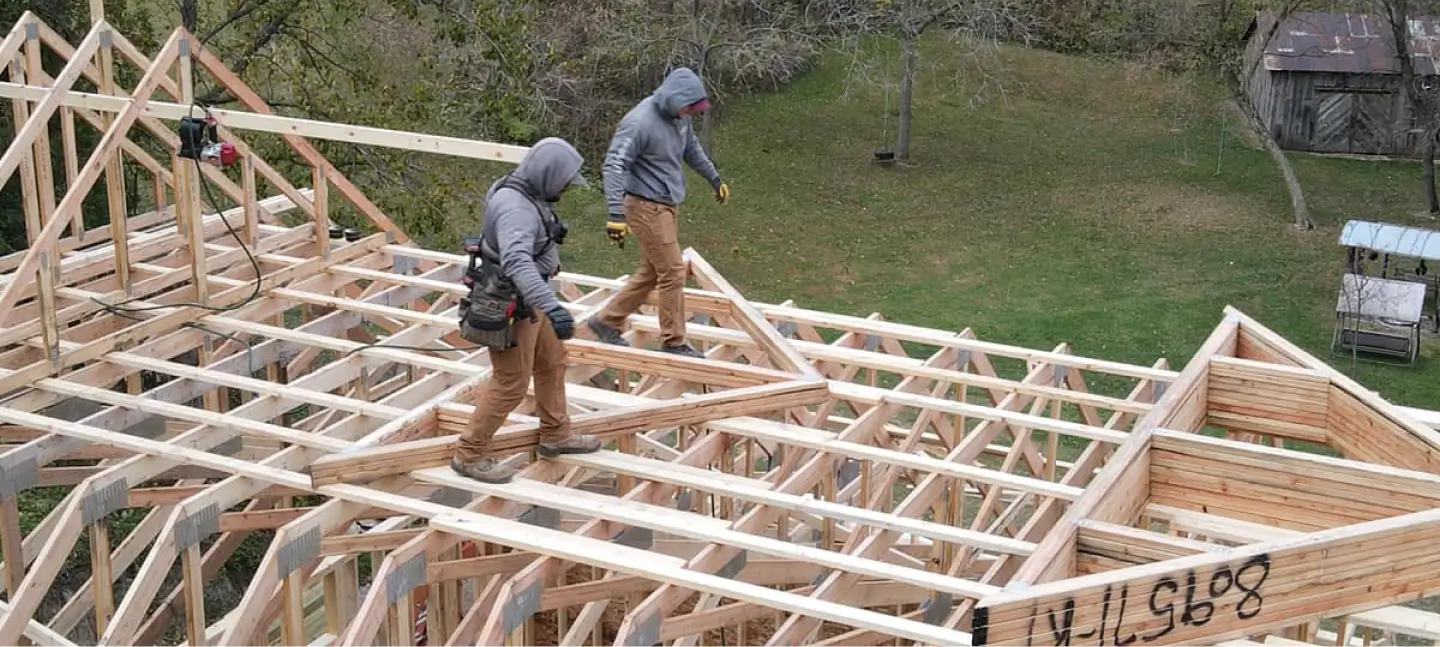
3. Deck Repair and Slope Creation
Any damage found during inspection is repaired here. Rotted panels are replaced, fasteners are re-secured, and the structural integrity of the full surface is confirmed. This is also when contractors create slope using tapered insulation boards. Check local building codes and manufacturer specs, as most require a minimum slope of one-quarter inch per foot so water moves reliably toward interior drains or scuppers rather than sitting on the membrane surface.
- Replace deteriorated oriented strand board or plywood sections
- Re-fasten loose decking panels across the full roof deck
- Install tapered ISO board to create slope and meet minimum slope requirements
4. Vapor Barrier and Insulation Layer
Controlling moisture migration from inside the building up through the roof assembly prevents long-term moisture buildup and air bubbles forming beneath the membrane. A vapor retarder is applied first, followed by rigid insulation boards fastened in staggered joints. The correct insulation R-value and proper ventilation directly affect energy efficiency and help maintain stable indoor temperatures through both cold temperatures and summer heat.
- Apply vapor retarder across the full structural deck
- Mechanically fasten insulation boards to meet local energy code R-value requirements
- Stage boards to minimize seams and prevent thermal bridging
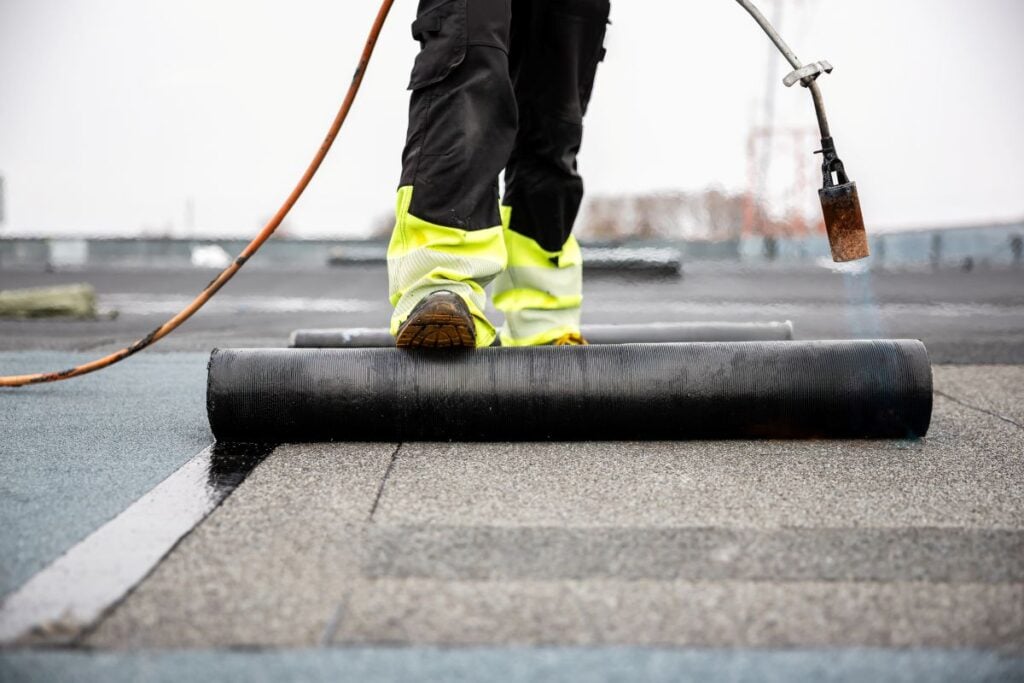
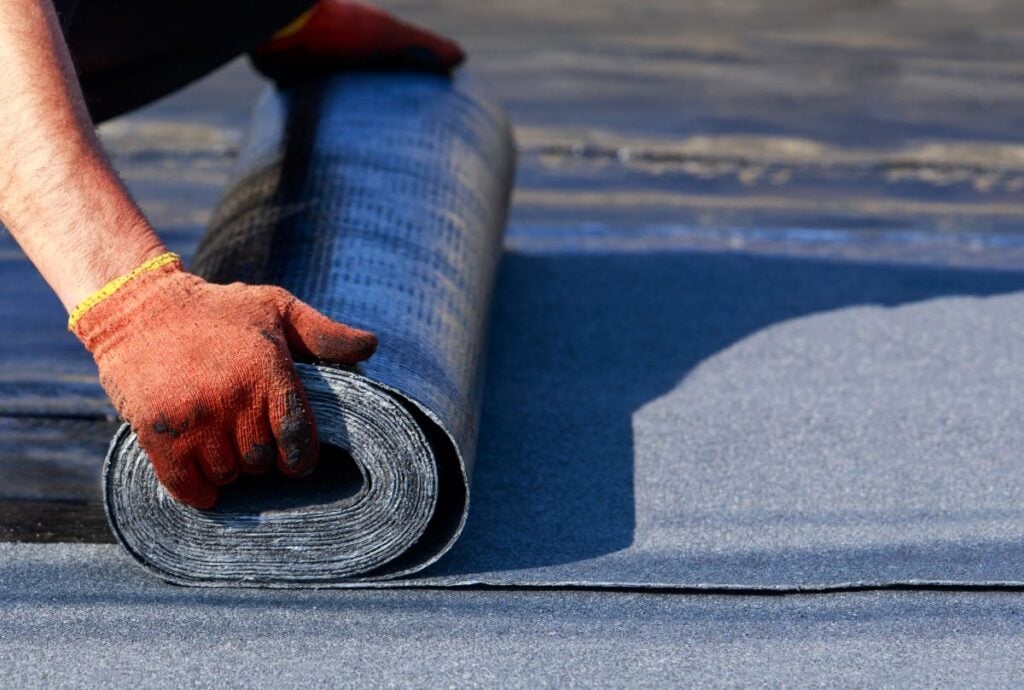
5. Cover Board and Waterproofing Membrane
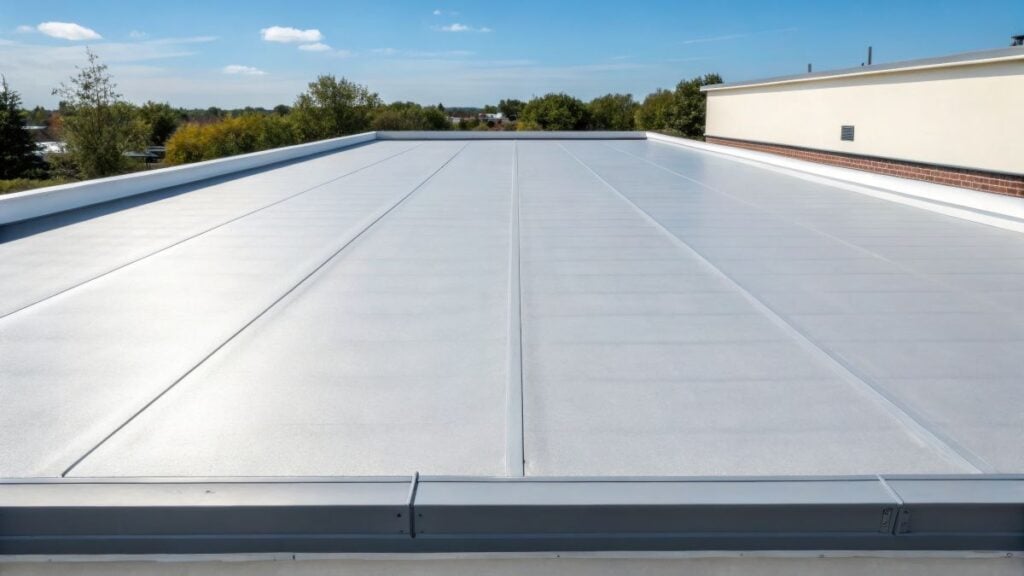
A cover board goes over the insulation to create a stable surface for the waterproofing membrane and to protect against foot traffic, hail, and puncture. Once in place, the membrane is installed as the primary weather barrier. Flat roof material choice at this stage has the biggest effect on both upfront cost and long-term performance. The most popular flat roofing materials used on commercial and residential projects today are TPO, EPDM, and modified bitumen.
- TPO roofing: Large sheets heat-welded at the seams, TPO roofing is highly reflective, resistant to UV rays and chemical exposure, and one of the most widely used membranes on commercial roof projects. It performs reliably in cold temperatures and tends to have a lower per-square-foot cost on larger roofs.
- EPDM membrane: A rubber membrane adhered or ballasted in place, an EPDM membrane handles freeze-thaw cycles and cold temperatures exceptionally well and has a longer proven track record than most alternatives. It is less reflective than TPO in hot climates but delivers outstanding durability overall.
- Modified bitumen: Applied in layers using heat or cold adhesive, modified bitumen offers solid puncture resistance and is often the most affordable flat roof material upfront. It is a dependable flat roof system for lower-traffic applications, though it typically has a shorter service life than TPO or EPDM.
- PVC roofing: A strong option for roofs exposed to chemical exposure or grease, PVC roofing offers excellent durability and heat-welded seams similar to TPO but at a higher material cost.
6. Metal Flashing, Roof Edges, and Detail Work
Flashing installation is where workmanship quality is most clearly demonstrated. Every roof penetration, parapet wall, vent pipe, HVAC curb, and roof edge must be covered with metal flashing and sealed with precision. Flat roofs leak most often at these transition points, making the detail work here just as critical as the membrane itself. Improper flashing is the leading cause of water infiltration on both new and aging flat roof systems.
- Install metal flashing at all parapet walls and vertical transitions
- Flash all roof penetrations including pipes, vents, and conduit runs
- Secure drip edge and metal flashing along all roof edges and perimeters
7. Drainage Verification and Final Inspection
Proper drainage is the final major system component and deserves as much attention as any other phase. Interior drains and scuppers are cleared, aligned, and tested to confirm the drainage system moves water freely off the roof deck. Standing water sitting longer than 48 hours after rainfall accelerates membrane degradation, voids most manufacturer warranties, and signals a drainage system failure. The contractor then performs a thorough final inspection covering seam integrity, metal flashing detail, membrane adhesion, and overall system performance.
- Verify all interior drains are clear, properly sealed, and correctly sloped
- Inspect all seams and roof edges for gaps or lifting membrane
- Complete final inspection documentation and confirm warranty registration
Following all seven steps in sequence is what separates a flat roof system that delivers 20 or more years of reliable performance from one that develops costly repairs within the first few seasons.
Flat Roof Costs, Maintenance, and Common Problems
Most flat roof installations in La Crosse and surrounding areas fall between $5 and $12 per square foot, depending on flat roof material, roof size, and the extent of any structural deck repairs needed. A simple TPO roofing re-cover on a sound deck lands at the lower end; a full tear-off of built up roofing with deck repairs, tapered insulation, and a new EPDM membrane pushes toward the higher end. Roofs with many roof penetrations, parapet walls, or interior drains requiring rerouting increase labor costs further.
On the maintenance side, two roof inspections per year, in spring and fall, catch small issues before they become costly repairs. Common flat roof problems to watch for include water pooling from drainage system clogs, membrane blistering from trapped air bubbles or moisture, metal flashing separation at parapet walls and roof penetrations, and seam failure from rushed installation. Catching these issues early protects the structural integrity of the entire roof system and avoids far more expensive remediation down the road.
Get Your Flat Roof Done Right With Puetz Construction
Whether you are replacing an aging flat roof or planning a new flat roof system for a commercial or residential property, the quality of the installation makes all the difference. At Puetz Construction, our team brings the experience, flat roof material knowledge, and attention to detail that property owners in La Crosse and surrounding areas deserve. From the initial assessment through the final inspection, we follow a proven installation process built to protect your property for decades. Do not leave your roof to chance. Reach out to our team and contact us today to schedule a consultation and get started on the right foot.
Fresh From our Blog