Roof Flashing Guide: 5 Signs of Damage and Repair Steps
Written By: Justin Puetz | July 13, 2026 | 7 Minute Read

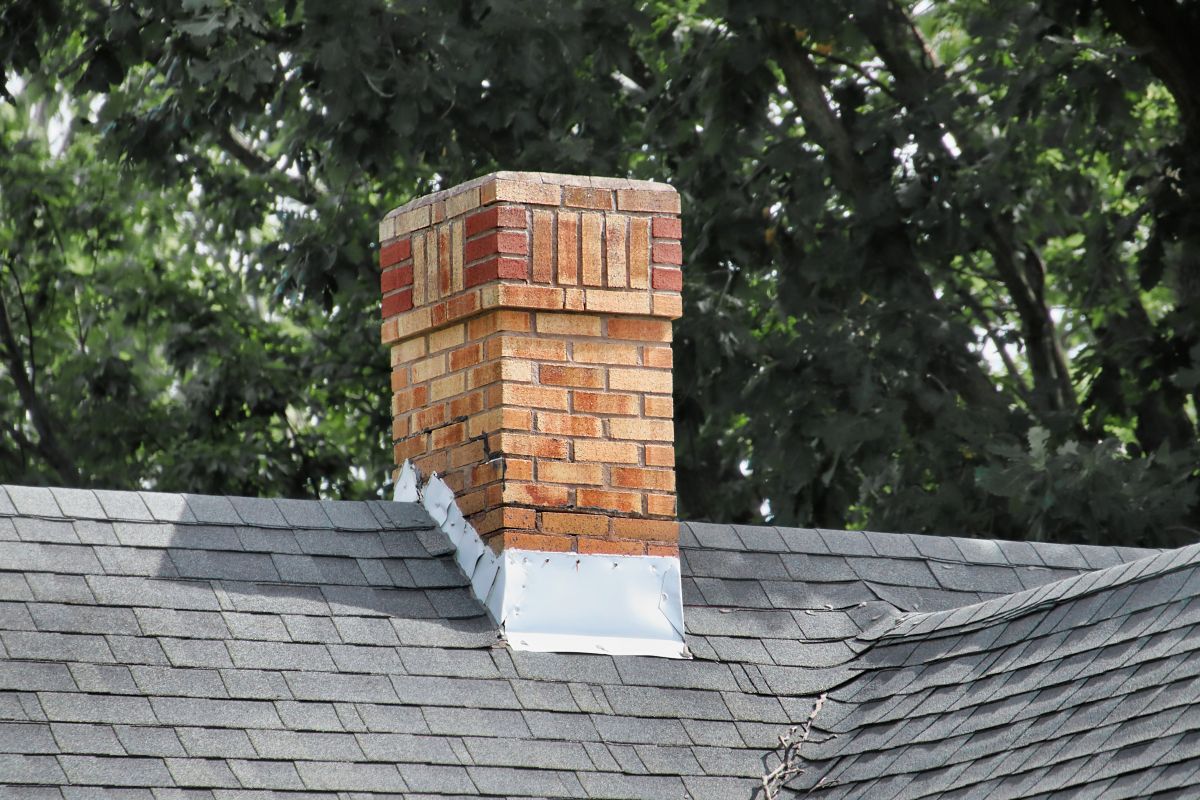
Every roof depends on small details to stay watertight, and few matter more than the metal strips sealing its most vulnerable areas. Roof flashing protects roof penetrations like chimneys, vents, and skylights where roof leaks are most likely to start. Homeowners in Austin who catch failing seals early often avoid far costlier repairs down the road, which is why understanding the warning signs matters so much.
What You’ll Learn:
- Why roof flashing plays a critical role in your home’s protection
- The five most common signs of flashing damage
- Roof flashing materials and techniques that extend lifespan
- How DIY fixes compare to hiring a professional roofer
- When to call a roofing professional for help
Why Roof Flashing Matters
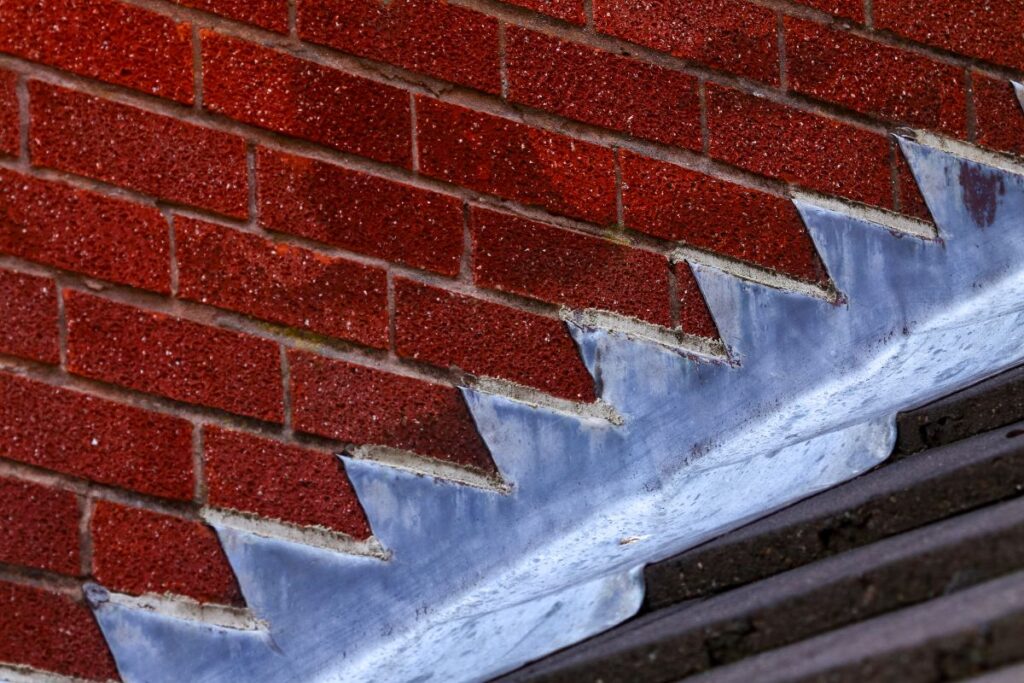
Flashing might be one of the smallest components on a roof, but it carries an outsized share of the workload. It bridges the gap where a roof plane meets a vertical wall or where two sloped roof planes meet, keeping water from finding its way into the layers underneath. Without a properly installed, watertight seal, even a roof in otherwise good condition can develop serious problems from water infiltration.
- Leak prevention: Flashing seals the joints where water is most likely to pool or run, such as chimney flashing, valley flashing, and skylight flashing.
- Structural protection: Water intrusion that sneaks past bad flashing can rot the roof deck, cause wood rot in framing, and weaken the structure underneath.
- Energy efficiency: Gaps around flashing let in drafts, which can drive up heating and cooling costs throughout the year.
- Mold prevention: Persistent moisture from improper installation creates the damp conditions mold needs to take hold in attics and interior walls.
Most homeowners in Austin and surrounding areas overlook flashing during routine roof inspections because it blends into the rest of the roofline. That oversight can be costly, since flashing problems in these vulnerable areas tend to worsen quietly before they become visible from the ground.
5 Signs of Roof Flashing Damage and How to Fix Them
Flashing damage rarely announces itself right away, which is why homeowners need to know what to look for before small issues become expensive ones. Below are the five most common indicators that flashing needs attention, along with practical steps for addressing each one.
1. Visible Rust or Corrosion
Metal flashing is usually galvanized steel or aluminum, both prized for corrosion resistance, but no material is entirely immune to the elements. Over years of exposure to rain, snow, and temperature swings, even corrosion resistant flashing can develop rust spots that weaken its ability to shed water effectively.
- Inspect flashing visually from a ladder or with binoculars for orange or brown discoloration
- Replace heavily corroded sections rather than patching over them
- Consider a material type known to prevent corrosion in coastal areas or humid climates
2. Cracked or Split Sealant
The roofing cement or asphalt cement around flashing edges is designed to flex with temperature changes, but it degrades over time. Once it cracks, water has a direct path underneath the metal, leading to bad flashing performance across the whole roof plane.
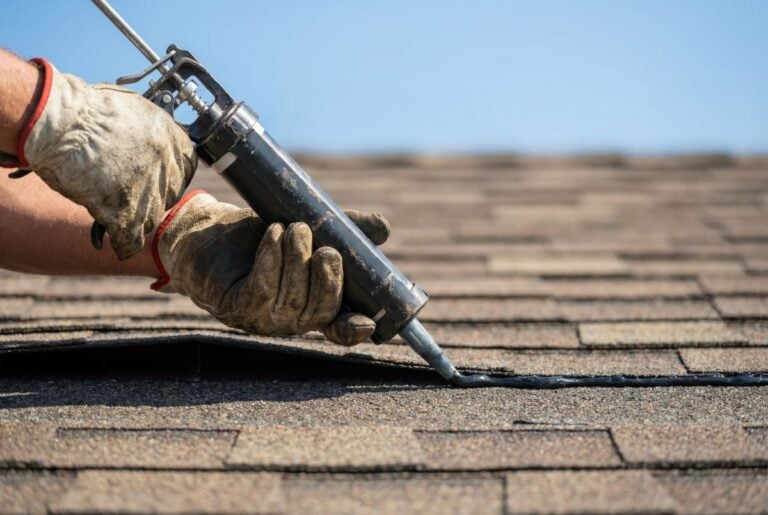
- Scrape away old, brittle sealant completely before reapplying
- Choose from available sealant types rated for your climate and roof pitch
- Recheck the waterproof seal annually, since sealant typically lasts only a few years
3. Loose or Lifted Flashing Sections
Wind, ice, and general settling can gradually loosen the fasteners holding flashing pieces in place, especially on drip edge flashing and apron flashing along the eaves. Once a section lifts even slightly, high winds can drive rain underneath, and kickout flashing at roof-to-wall junctions is especially prone to this problem.
- Check for gaps between the flashing and the roofing surface or vertical surface
- Re-secure loose sections with appropriately sized roofing nails or screws
- Add fresh sealant along the reattached edge to help prevent water from finding a new path in
4. Water Stains on Ceilings or Walls
Interior water stains are often the first sign homeowners notice, and they frequently trace back to failing flashing rather than the roof shingles themselves. By the time a stain appears, water intrusion has usually been occurring for some time near a roof penetration or valley.
- Trace stains back to their likely source along the roof plane
- Check attic insulation and roof deck near chimneys and vents for dampness
- Address the flashing issue promptly to prevent further interior damage
5. Missing Flashing Segments
Severe storms or age can cause entire sections of roll flashing or step flashing pieces to detach and go missing altogether. This leaves a completely exposed seam that will let water in with the next rainfall, undermining preventing leaks as the roof’s core job.
- Walk the perimeter of the roof after major storms to check for missing pieces
- Temporarily cover exposed seams with a tarp if replacement isn’t immediate
- Schedule a full flashing replacement rather than a partial patch when segments are missing
Catching any of these five signs early can mean the difference between a simple repair and a full roof replacement. Homeowners who stay proactive about flashing maintenance tend to spend far less over the life of their roof.
Materials and Techniques That Extend Flashing Life
Not all roof flashing materials are created equal, and the material chosen during flashing installation has a lasting impact on how well it holds up. Understanding these options helps homeowners make smarter decisions when repairs or replacements come up.
Common Flashing Materials
Aluminum flashing is a thin material that resists rust well, making it a popular and highly durable choice for residential roofs. Copper flashing costs more upfront but can last for decades with minimal maintenance, developing a protective patina that also adds aesthetic appeal. Galvanized steel offers a budget-friendly middle ground and remains one of the most durable materials available, though it benefits from periodic inspection.
Installation Techniques That Matter
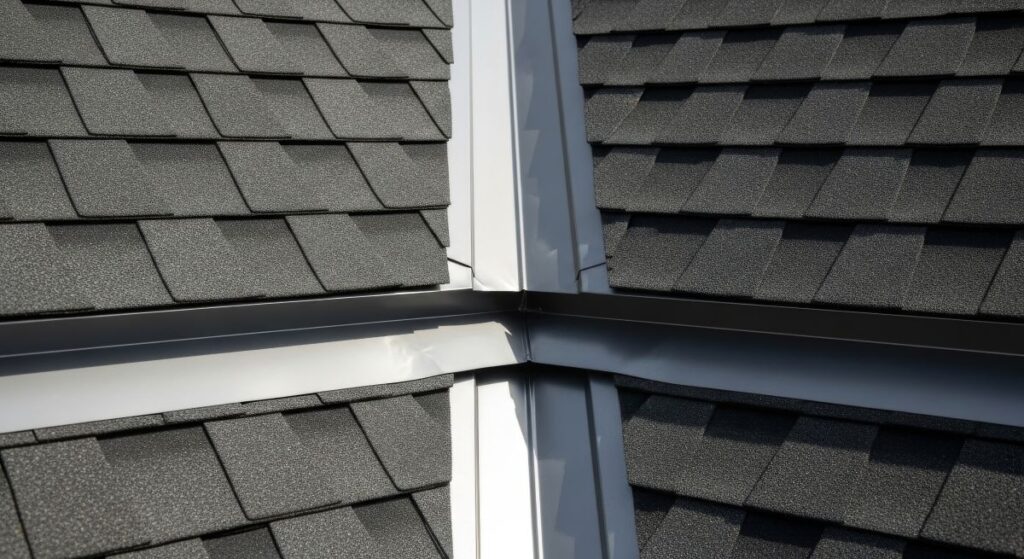
- Step flashing: Individual flashing pieces layered with each course of shingle exposure along walls and roof-to-wall junctions
- Continuous flashing: A single long piece, often roll flashing, used along straight roof edges for simpler, uninterrupted coverage
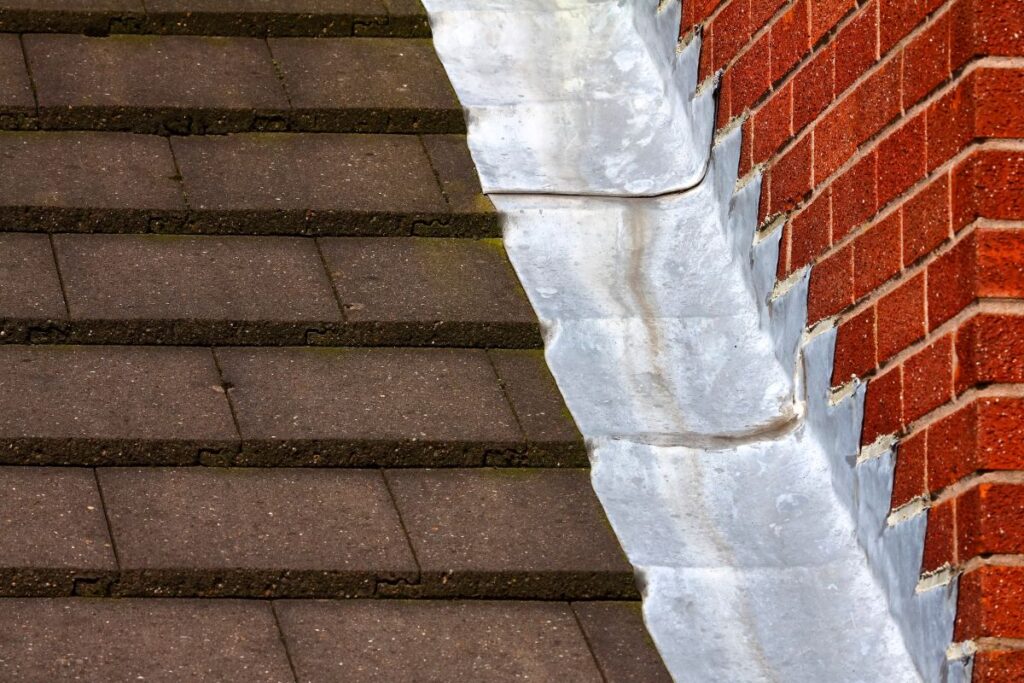
- Counter flashing: Installed opposite base flashing around chimneys to create cap flashings that add a second layer of protection
The technique matters just as much as the material itself, and guidance from groups like the Asphalt Roofing Manufacturers Association along with local building codes helps ensure work meets current building code standards. Poorly installed flashing, even in premium materials, will fail faster than well-installed flashing in more modest materials, which is why hiring a professional roofer for flashing installation tends to pay for itself over time.
DIY Fixes vs Professional Roof Flashing Repair
Some homeowners are tempted to handle flashing repairs themselves, especially for small issues like resealing a seam on a metal roof or touching up a drip edge. Whether that’s a good idea depends heavily on the scope of the damage and the homeowner’s comfort working at height.
| Factor | DIY Repair | Professional Repair |
| Best for | Minor sealant touch-ups | Structural or widespread damage |
| Safety risk | Higher, especially on steep roofs | Lower, with proper equipment and training |
| Long-term reliability | Variable | Long lasting protection with warrantied workmanship |
| Cost | Lower upfront | Higher upfront, fewer repeat repairs |
| Diagnostic accuracy | Limited to visible signs | Includes roof deck and structural inspection |
DIY repairs can be reasonable for small, surface-level fixes when a homeowner is confident and properly equipped. For anything involving multiple flashing pieces, water damage, or work on a steep or high roofline, including commercial applications, bringing in a roofing professional is generally the safer and more cost-effective path in the long run.
Schedule Your Roof Flashing Repair Now
Roof flashing may be a small part of your roof, but its failure can lead to some of the most damaging and expensive problems a home can face. Whether you’ve noticed rust, water stains, or a missing section after a storm, addressing flashing issues early protects the rest of your roofing system from unnecessary wear. Puetz Construction has helped homeowners across Austin and surrounding areas identify and repair flashing problems in these critical areas before they turn into bigger headaches. If you’re seeing any of the warning signs covered in this guide, don’t wait for a leak to confirm the problem. Our team can inspect your flashing, recommend the right repair or replacement approach, and get your roof back to full protection. Contact us today to schedule an inspection and keep your home safe through every season ahead.
Fresh From our Blog