Siding Installation Guide for Long-Lasting Results (8 Steps)
Written By: Justin Puetz | June 5, 2026 | 10 Minute Read

Your home’s exterior takes a beating year after year, and what covers it makes all the difference. Siding installation done right protects your house from moisture, temperature swings, and structural damage before those problems ever have a chance to take hold. Whether you are replacing worn-out panels or upgrading for better performance, understanding the full process helps you make smarter decisions and work with the right team. Homeowners in Winona and surrounding areas know that harsh Midwest winters demand exterior work that is built to last, which is why knowing what goes into a quality installation matters, starting with choosing materials designed for lasting protection.
What you’ll learn:
- Why quality siding installation is one of the highest-return projects a homeowner can invest in
- The eight key steps every proper siding installation follows
- Which materials and weather-resistant barriers are needed for a complete wall assembly
- What fastener types are required and why they matter for long-term performance
- How to evaluate your existing siding and know when full replacement is the right call
Why Siding Installation Is One of the Most Important Projects You Can Do
Siding does far more than make your home look good from the street. It acts as the first line of defense against wind, rain, snow, and humidity, keeping your walls, insulation, and structural framing dry and intact. When siding fails, the damage it causes behind the wall can cost far more to fix than the siding replacement itself ever would have. Here are some of the biggest reasons this project pays off:
- Moisture protection: When siding is installed properly, it seals out water at every seam and penetration, preventing rot, mold, and framing damage that compromises structural integrity over time.
- Energy savings: New siding paired with a fresh weather-resistant barrier and updated insulation can meaningfully reduce heating and cooling costs, especially in older homes where the existing installation has degraded.
- Curb appeal and value: Updated siding consistently ranks among the highest-return home improvement projects, improving first impressions and resale value when done with quality materials.
- Reduced long-term maintenance: Premium siding products installed correctly require far less upkeep over the years, meaning fewer repairs and less hassle as time goes on.
Getting this project right from the start protects everything behind your exterior walls. Cutting corners on installation almost always leads to leaks and premature failure regardless of how good the materials are.
8 Steps of a Proper Siding Installation
A professional siding installation follows a clear, systematic process that leaves no room for shortcuts. Skipping or rushing any step creates vulnerabilities that lead to costly damage down the line. Here is what a thorough, well-executed installation looks like from start to finish.
1. Inspection and Assessment
The first step before any material is ordered or any existing siding comes off is a thorough inspection of the exterior. A contractor should examine the current panels for rot, moisture damage, pest activity, and failing caulk or flashing, as well as identify repairs needed to the sheathing or framing underneath. Depending on the scope of damage found, this assessment may also determine whether a permit is required before work can begin in your area.
- Look for soft spots, discoloration, or bubbling that suggest hidden water damage beneath the surface
- Check windows and doors for gaps, failed seals, or deteriorated flashing
- Assess the condition of the existing weather-resistant barrier at any exposed edges and access the soffit and fascia to check for rot before new siding is set in place
2. Material Selection
Choosing the right siding material for your home, budget, and climate is one of the most consequential decisions in the entire process. Each product type involves trade-offs in cost, durability, and maintenance that matter differently depending on your goals and the demands of the local climate.
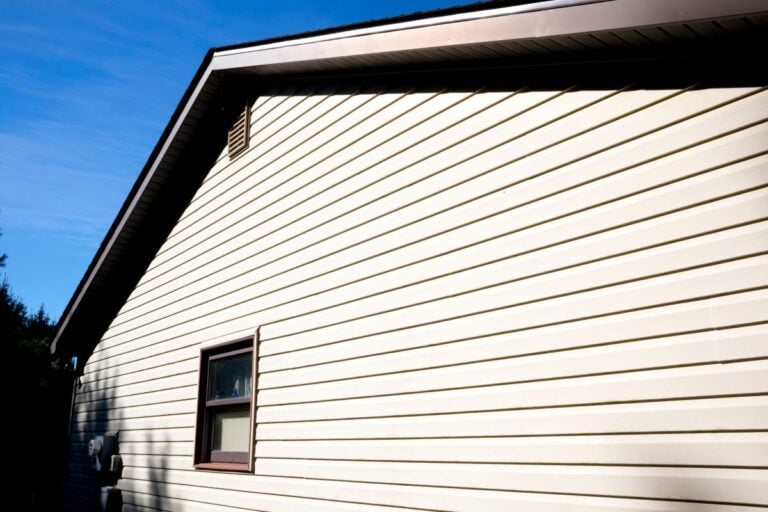
- Vinyl siding: The most widely installed option in the Midwest, affordable, low-maintenance, and available in a wide range of styles and colors that hold up well through cold winters
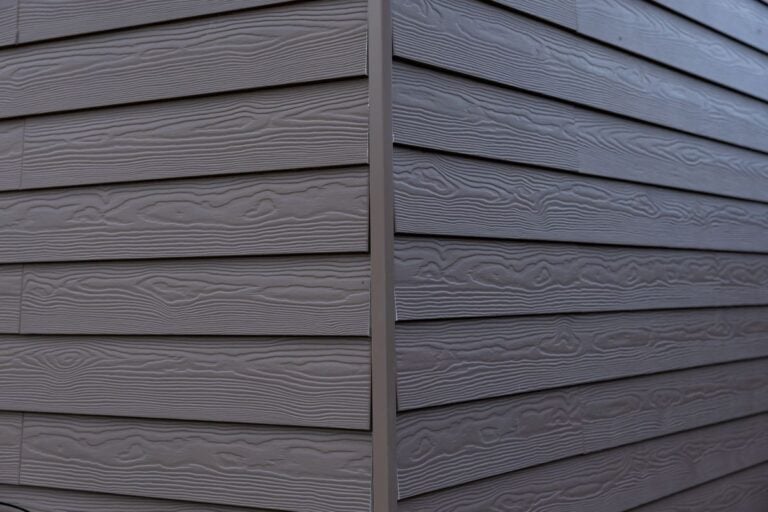
- Fiber cement: Highly durable and resistant to moisture, rot, and pests; offers a wood appearance with far greater longevity and minimal repainting requirements
- Engineered wood: A natural aesthetic with improved moisture resistance over traditional wood; a solid middle ground between appearance and performance
- Steel siding: Extremely durable and fire-resistant; ideal for high-impact environments or homeowners who want maximum service life
When you plan to install vinyl siding or any other panel product, the material you choose sets the standard for every other decision, from fastener specifications to utility trim and accessories at every corner and opening.
3. Removing Existing Siding
Safely removing the existing siding without damaging the sheathing underneath is a skill in itself. Contractors should work from the top down, inspecting each section as they remove it and flagging any areas where moisture has clearly gotten behind the wall. This is the homeowner’s best opportunity to see the true condition of what lies beneath and to replace any compromised sections before the new installation is covered up.
- Remove all trim and accessory pieces before pulling field panels, keeping tools organized by type for efficiency
- Dispose of old materials responsibly, particularly if older products may contain hazardous materials
- Document every area showing water infiltration so all substrate repairs can be addressed before new panels go on
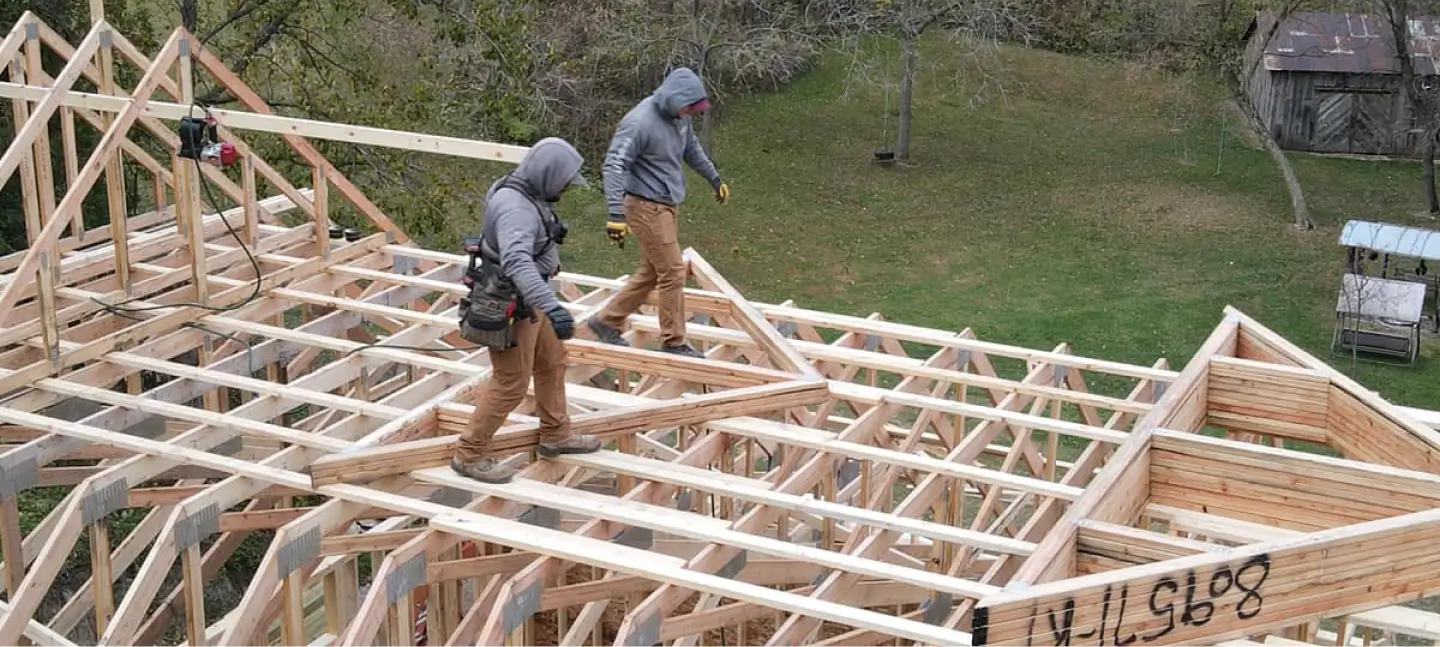
4. Repairing the Substrate
Once the existing siding is off, any damaged sheathing, framing, or structural members must be repaired before a single piece of new material goes up. The goal is a smooth, flat surface across the entire wall so panels can be installed properly without gaps or uneven transitions. Installing over a compromised substrate is one of the most common and expensive mistakes in siding projects.
- Replace rotted or delaminated sheathing panels completely rather than patching over them
- Address any pest damage and mold growth before enclosing the wall again
- Confirm all framing is plumb and structurally sound, and that the surface is flat enough for panels to sit flush
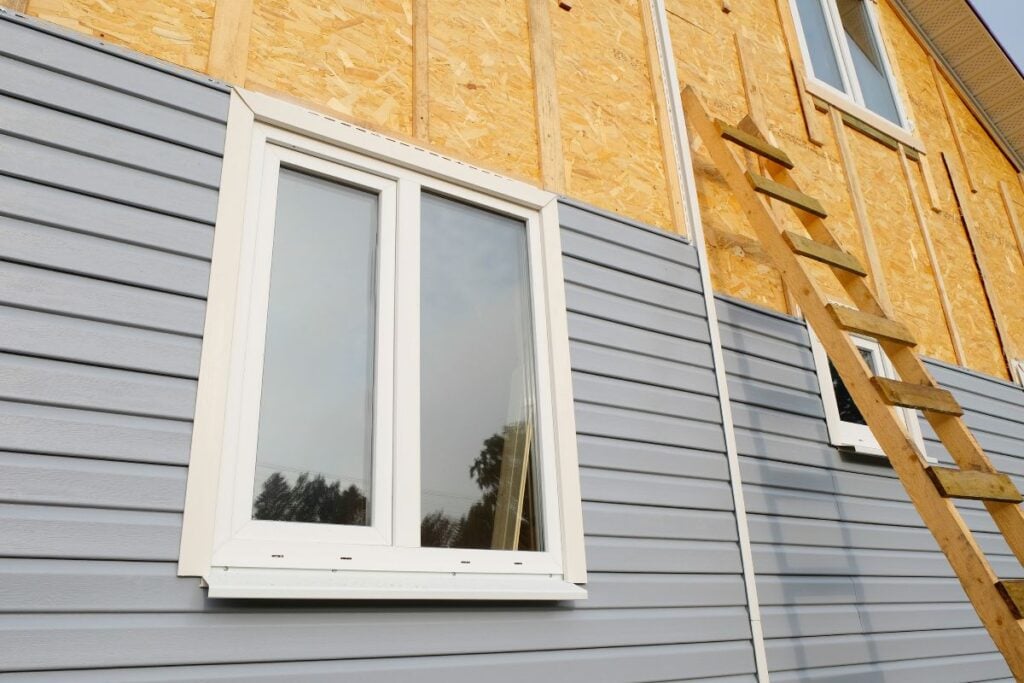
5. Installing the Weather-Resistant Barrier
A weather-resistant barrier is a critical layer in any properly assembled exterior wall. This membrane sits between the sheathing and the siding panels, allowing vapor to escape from the interior while blocking liquid water from driving in from outside. Without one, even the best siding materials will eventually allow moisture to reach the framing and compromise the walls of your house.
- The barrier should run horizontally with upper courses set to overlap lower ones, shedding water downward and away from the structure
- All seams must be taped with compatible flashing tape; extend tape fully around corners and at all penetrations
- Every window, door, and garage opening requires careful detailing to maintain a continuous line of protection
Two common weather-resistant barrier options are synthetic house wrap and traditional felt building paper. Modern synthetic wraps offer better tear resistance, greater breathability, and easier integration with self-adhesive flash tape, while felt paper remains code-compliant but is more vulnerable to damage during installation. Your contractor can recommend the right product for your specific wall assembly.
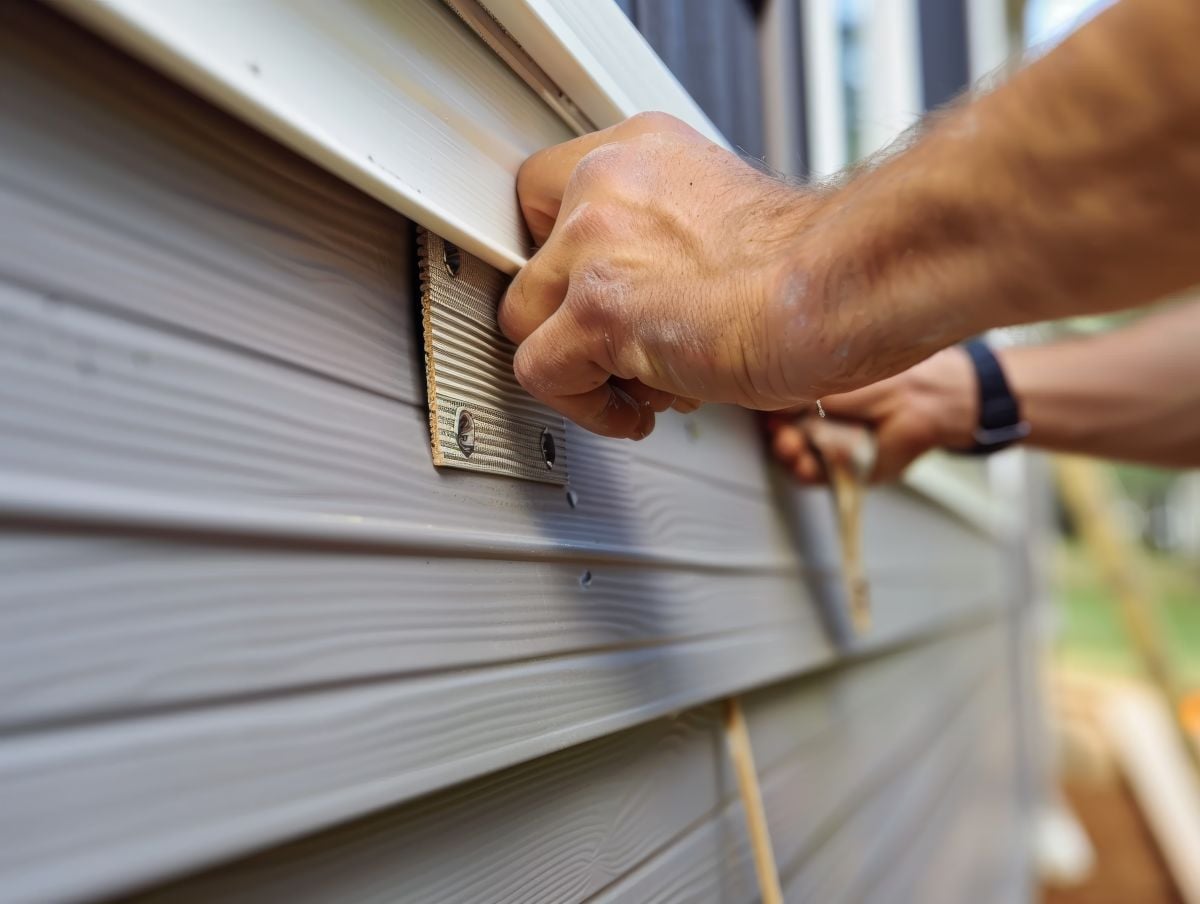
6. Installing Starter Strips, Flashing, and Trim
Before any field panels go up, starter strips, flashing around windows and doors, and trim pieces must all be set correctly. This step establishes a level baseline for the entire installation and ensures water is directed away from every vulnerable transition point, including around the soffit, fascia, and anywhere siding panels meet other surfaces.
- Starter strips must be checked for level across the full width of each wall before the first panel is placed
- Flashing must integrate with the weather-resistant barrier and window flanges in the correct sequence to direct water out and away
- J-channel and utility trim must be installed at every inside corner, window, and door before field panels begin, and each piece should be secured plumb and true
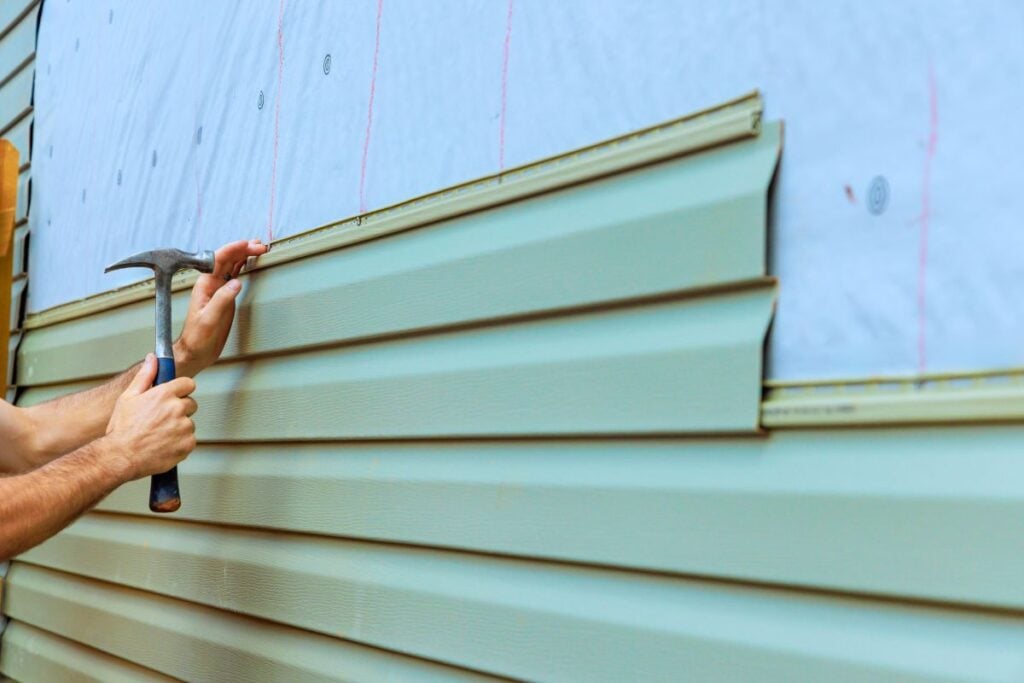
7. Installing Field Panels and Fasteners
This is the main body of the installation, where siding panels cover the wall from the bottom up to the soffit. For vinyl siding, use stainless steel or hot-dipped galvanized nails centered in the nail slot, with the nail head sitting flush but never driven tight. Vinyl needs room to expand and contract with temperature changes, so leaving the correct expansion gap at panel ends and trim interfaces is essential. A circular saw handles trimming to length, and scoring works well for straight cuts on vinyl. Always follow manufacturer fastener specifications, as fiber cement and other siding types have their own requirements.
8. Final Inspection and Caulking
Once all panels are installed, the project is not finished. A careful final inspection catches missed fasteners, gaps at trim intersections, and any locations where caulk is needed to create a watertight seal. High-quality paintable exterior caulk at the right joints makes a meaningful difference in long-term performance, particularly around windows, doors, and wherever trim meets the siding face.
- Caulk all gaps at trim intersections, corner joints, and penetrations to protect the wall assembly from water infiltration
- Inspect all flashing transitions to confirm they lap in the correct water-shedding direction
- Verify that ventilation pathways remain clear and weep holes in starter strips are unobstructed
A complete walkthrough before the crew leaves the site is the mark of a contractor who stands behind the work. Every step depends on the one before it, and quality control throughout is what separates a lasting installation from an early failure.

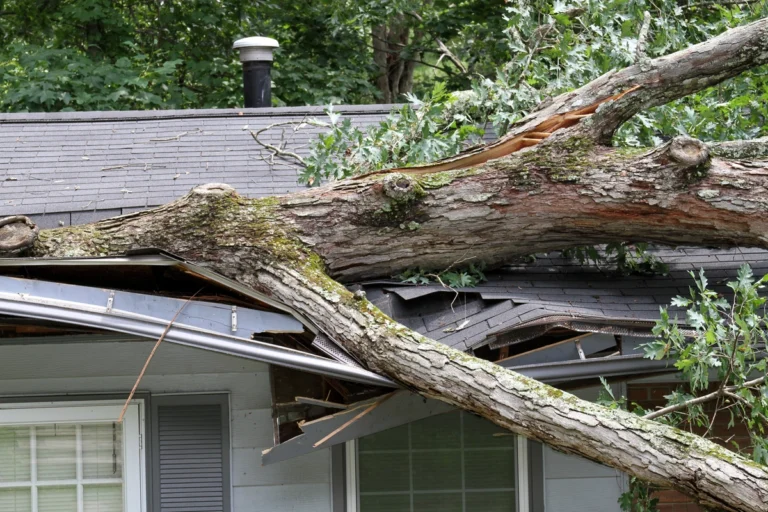
Warning Signs Your Existing Siding Needs Replacement
Existing siding rarely fails all at once, but it does send clear signals when it is no longer doing its job. Knowing what to watch for helps you act before small problems turn into expensive structural repairs. Homeowners in Winona and surrounding areas dealing with several of these symptoms at once are typically better served by a full replacement than by ongoing spot repairs, since patching a compromised system rarely solves the underlying construction issue.
| Warning Sign | What It Indicates |
| Bubbling or blistering panels | Moisture trapped behind siding, often pointing to weather-resistant barrier failure |
| Fading or severe discoloration | UV degradation or failed paint system; panels may be brittle |
| Cracks, warping, or splitting | Material at or near end of useful service life |
| Visible mold or mildew growth | Water infiltration creating conditions for biological growth |
| High heating or cooling bills | Insulation or vapor barrier behind siding may be compromised |
| Loose, falling, or rotted sections | Immediate attention needed to prevent structural damage |
Any single warning sign warrants a professional evaluation. Multiple signs appearing together almost always mean replacement is the right call rather than a delayed one.
Ready to Protect Your Home with a Quality Installation?
A properly installed exterior is one of the smartest investments a homeowner can make, and the difference between a job done right and one done quickly shows up within the first few years. From material selection and weather-resistant barrier details through fastener requirements and final inspection, every step matters. At Puetz Construction, our team brings the experience and attention to detail that a project like this deserves, serving homeowners throughout the region with craftsmanship built for the long haul. If you are ready to get started or want to talk through your options, contact us today and let us help you move forward with confidence.
Fresh From our Blog